Rustic Patio With Recycled Paving For Cottage Garden
A Patio is like an extra room during summer time – great place to enjoy sunshine and entertain people. We replaced our small stone patio by recycling the old pavers and briggs into a new, bigger patio that fits into our cottage style country garden.
Dreaming of a nice outdoor spot
I absolutely love the idea of big seating area where we could do our outside projects, eat meals and have coffee dates with friends and neighbors. In our current home we have a big garden, but our seating area has been quite small compared to the huge tables and hopelessly covered with grass and weeds. To solve that problem we decided to lay out a new, bigger stone patio on the same spot.
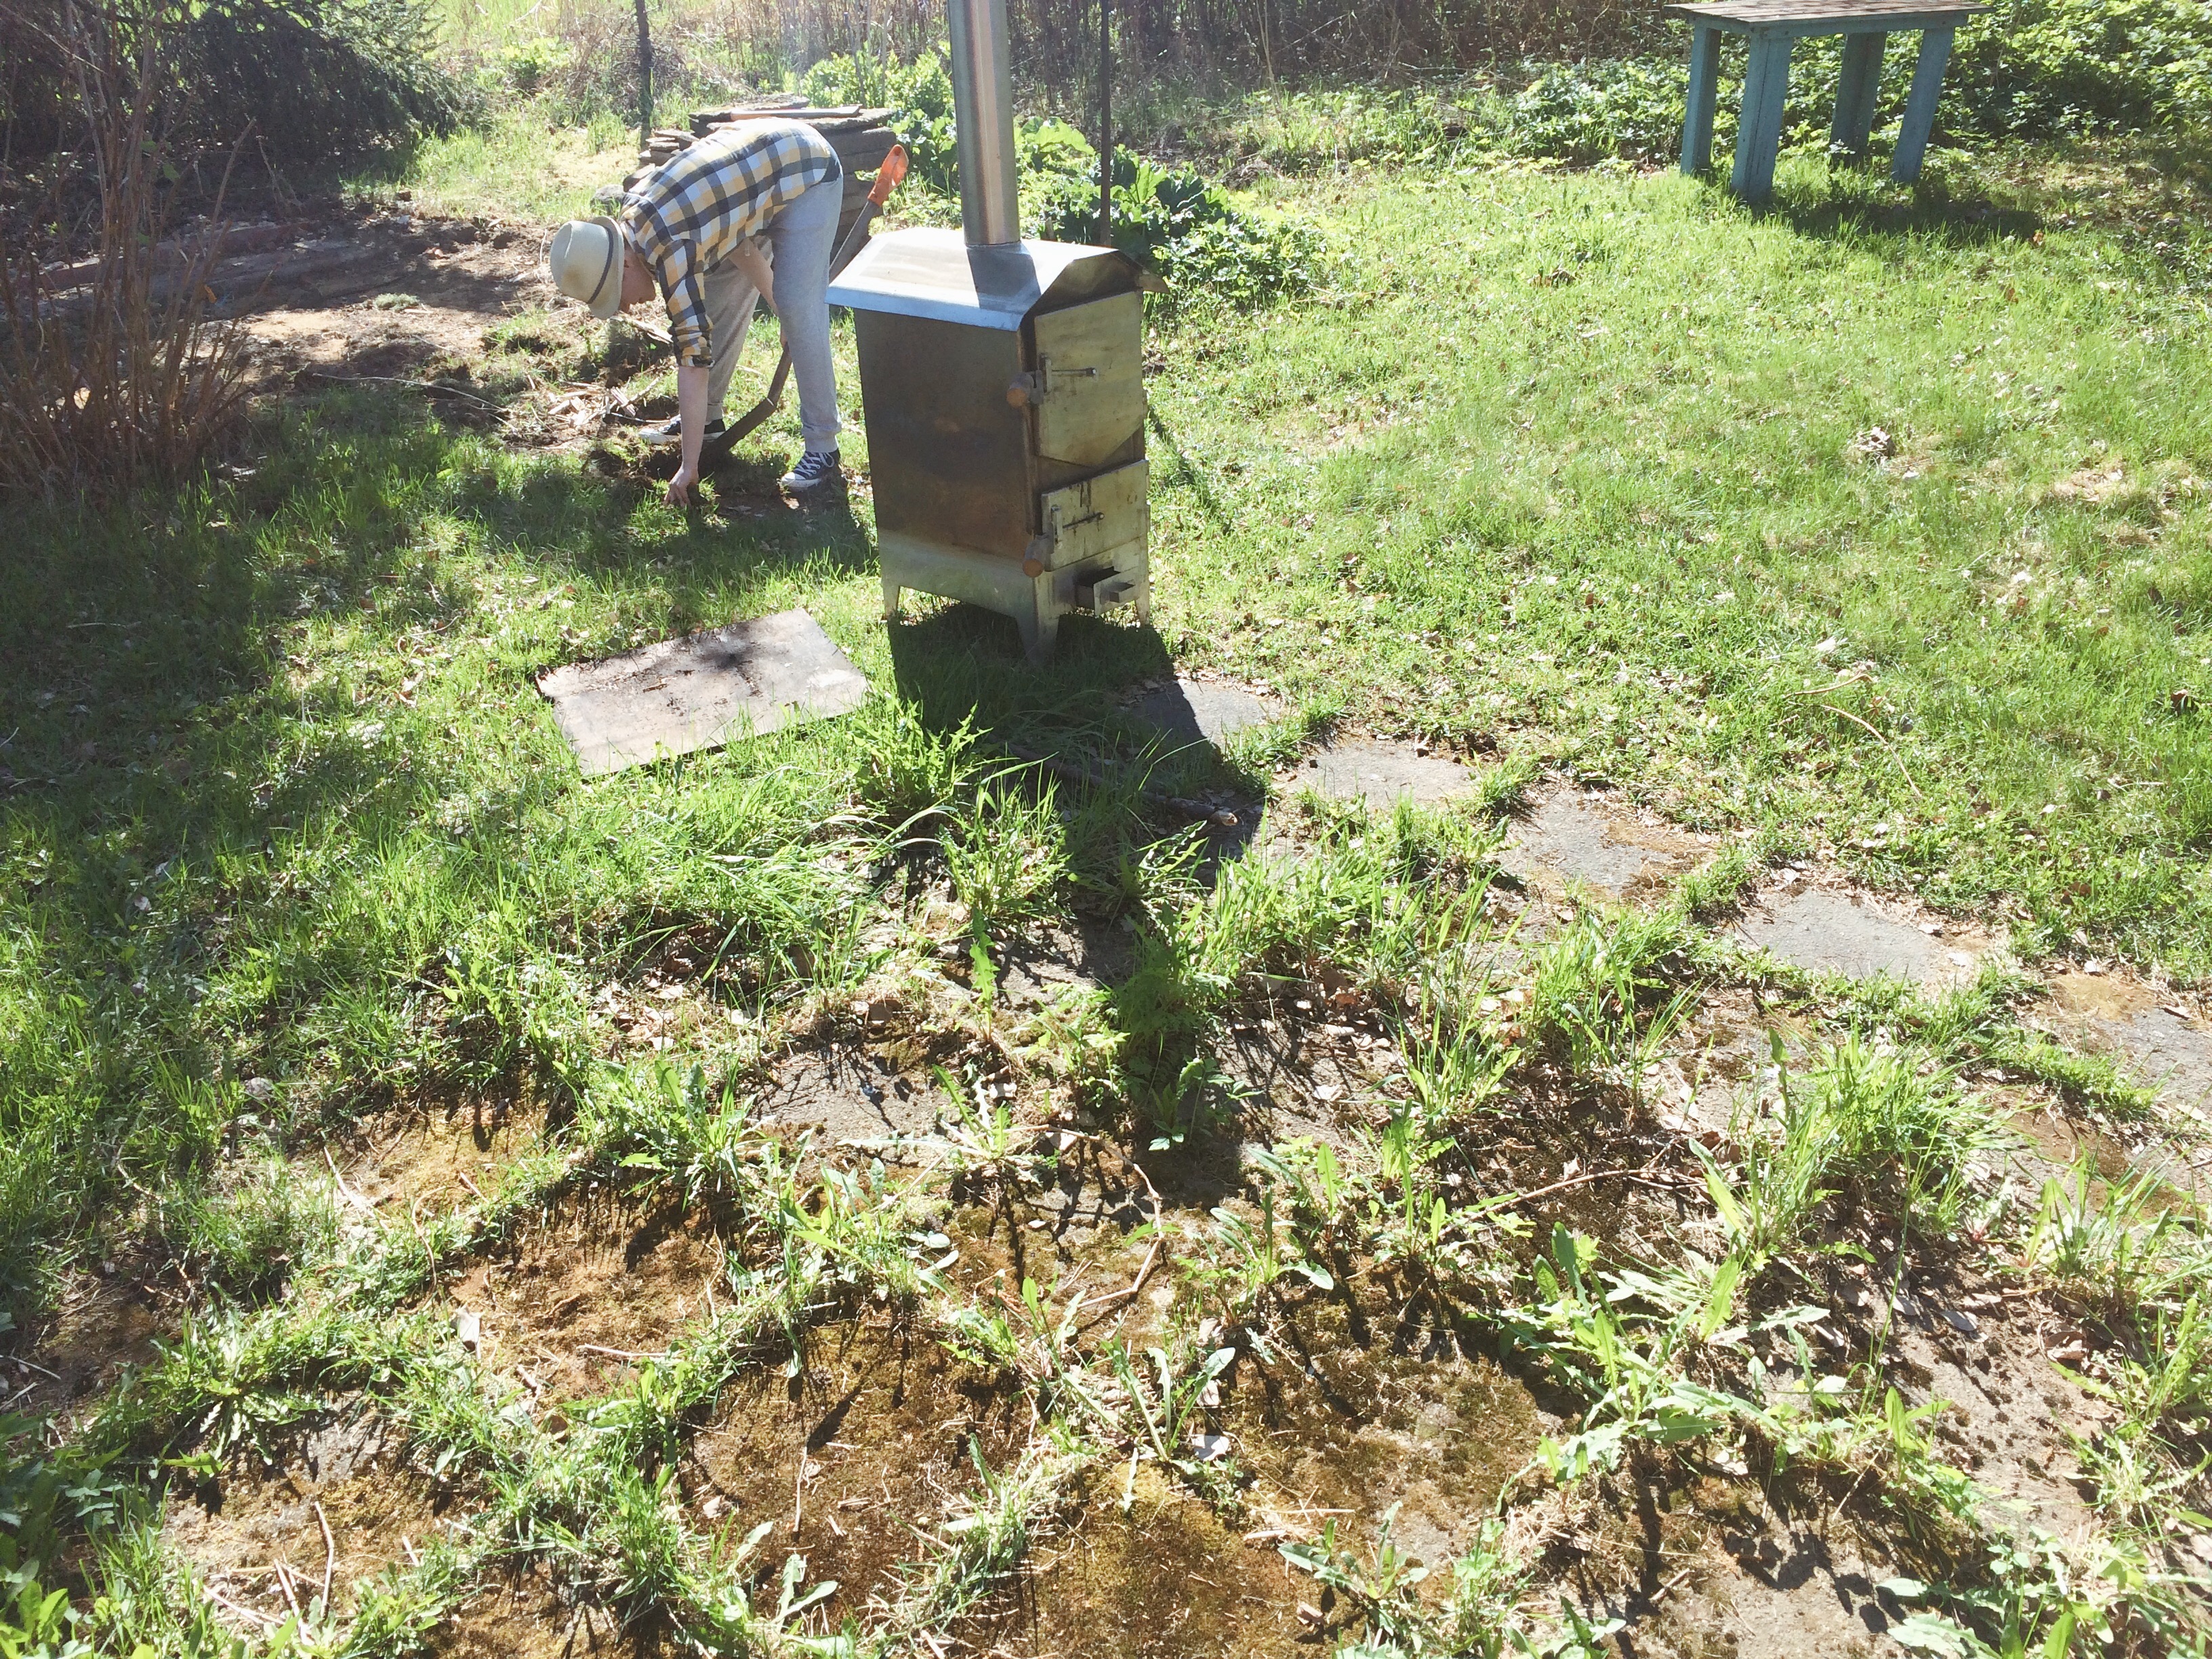
Steps We Took While Replacing A Stone Patio
1. Measuring the area
The new patio area is lined up with the buildings: it’s equally wide as the building next to it and equally long as another building on it’s other side.We used long thread and stakes to draw out the lines to the lawn to see the real size.
2. Digging out the lawn and existing stones
This was actually the quickest part even with all the shovel work we did. To save some money we decided to recycle the patio stones that we already had and took some time to clean them up from moss and weeds.
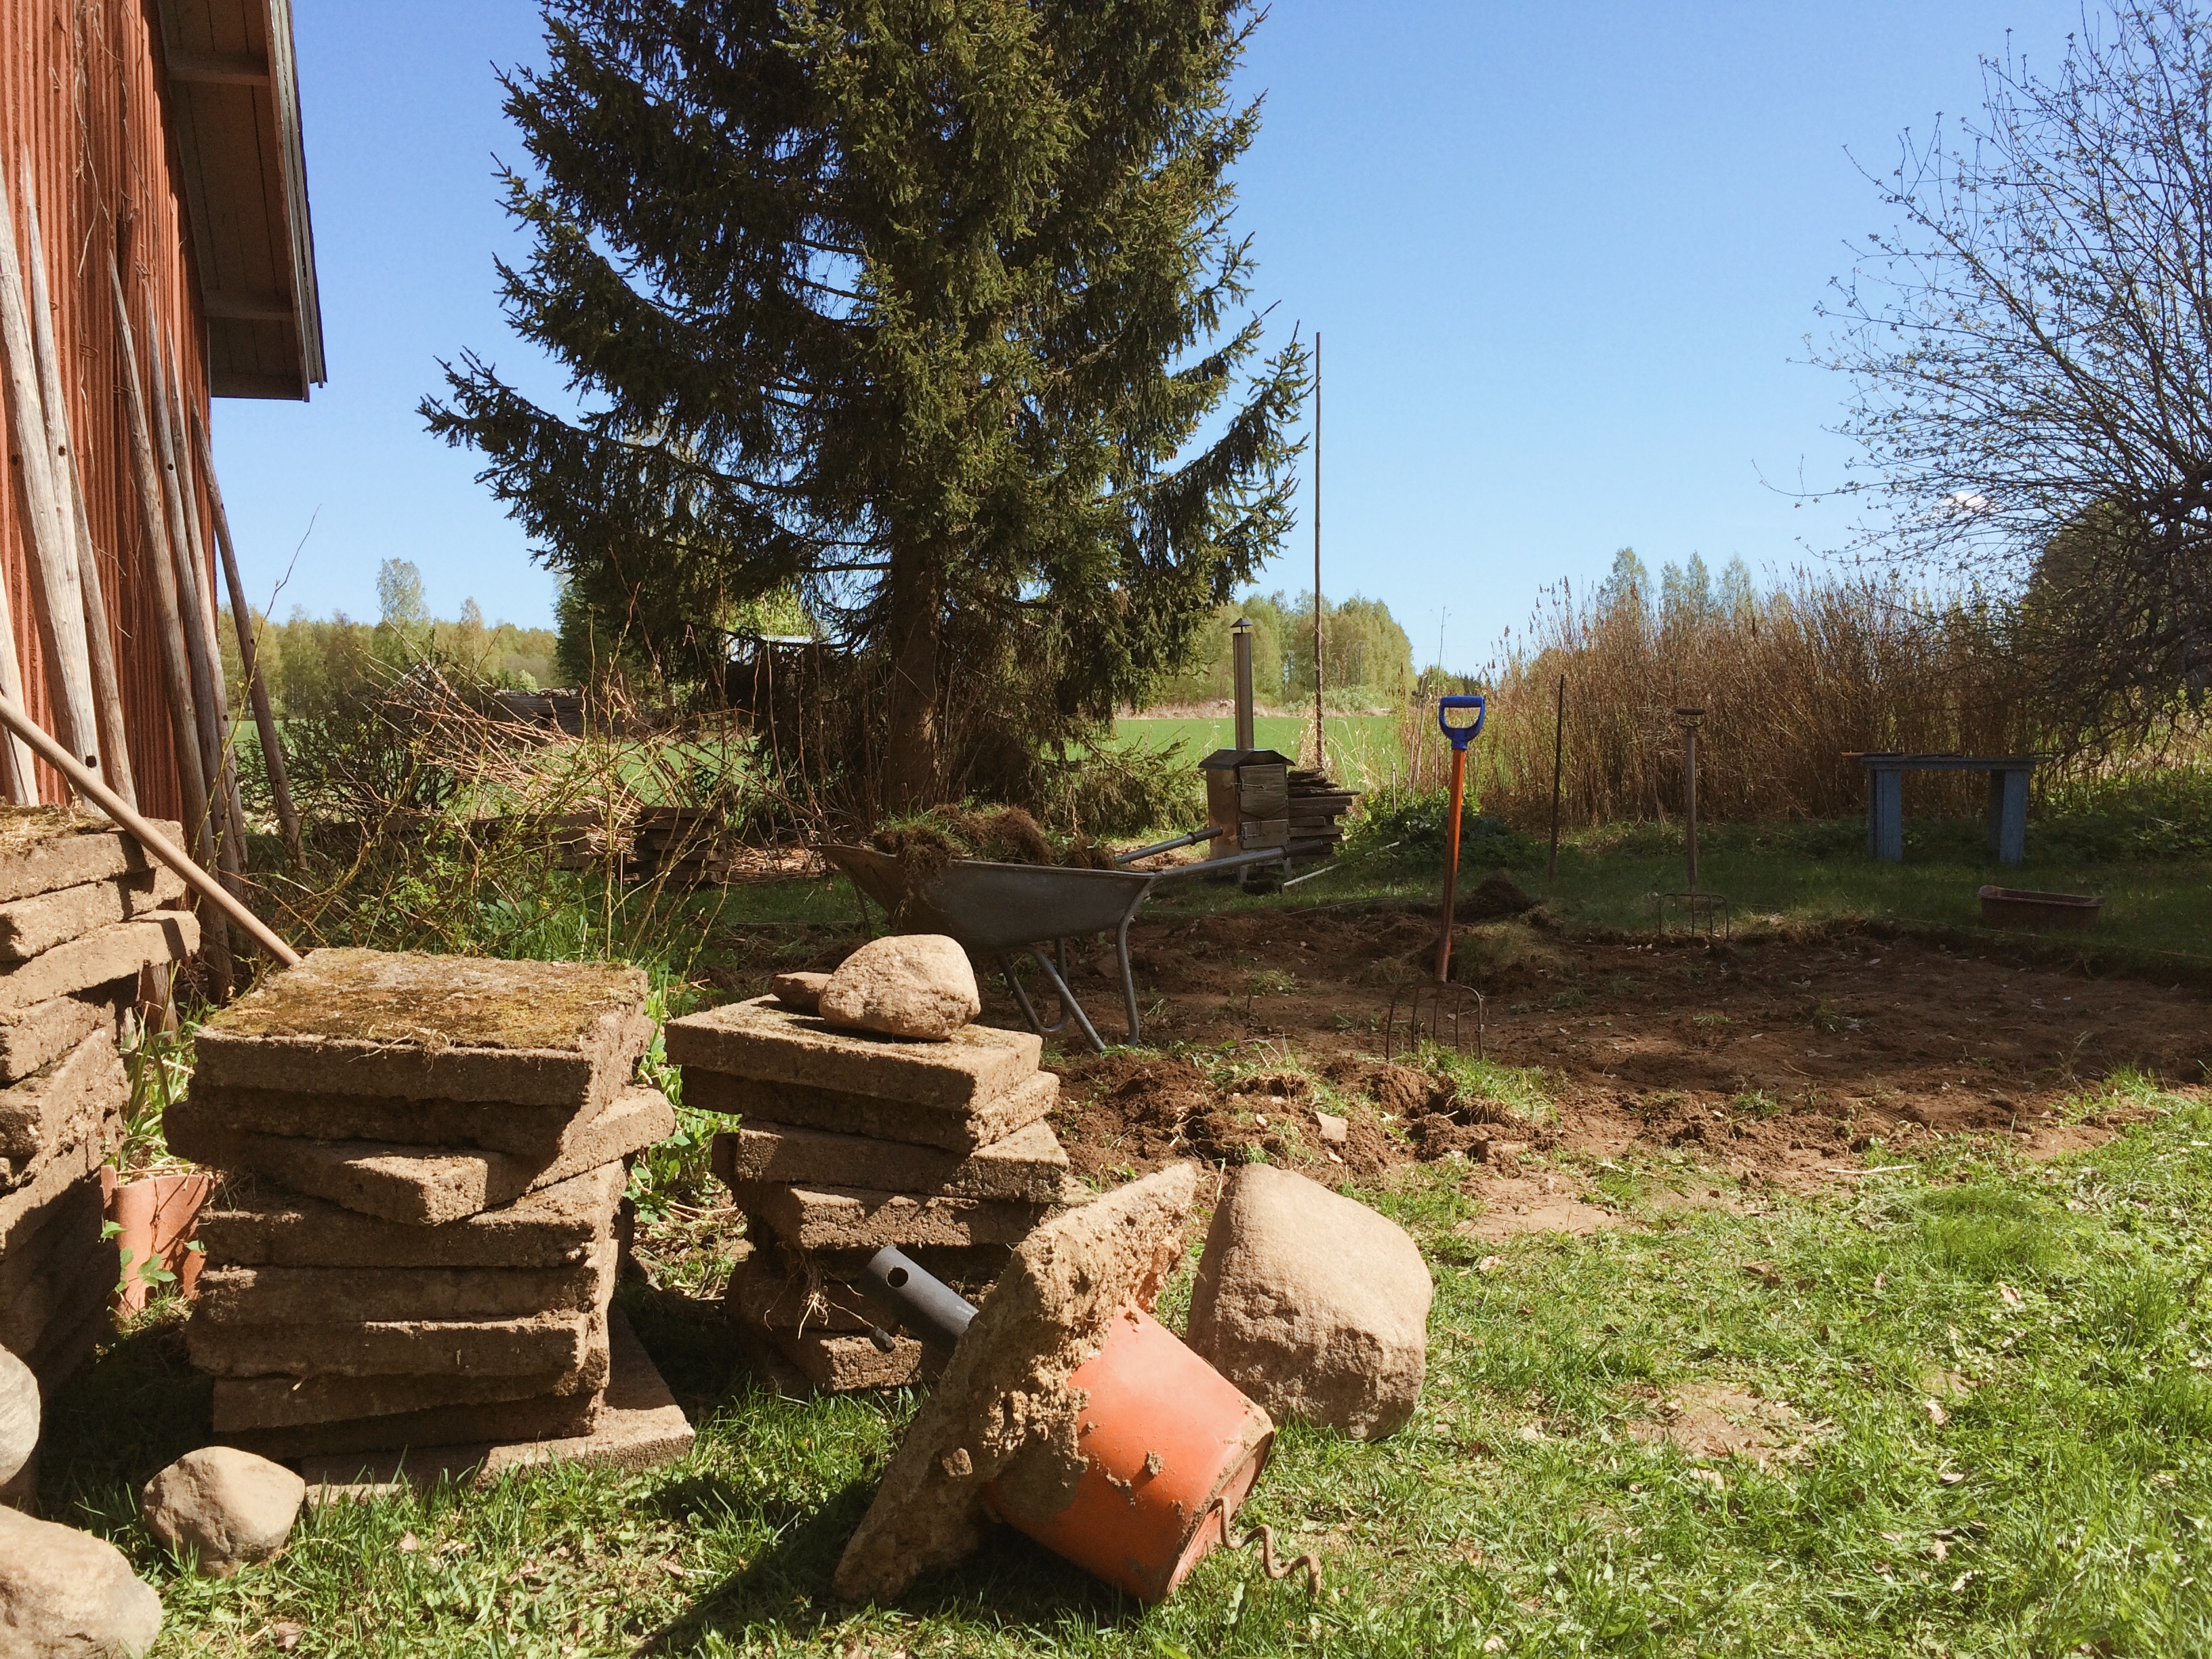
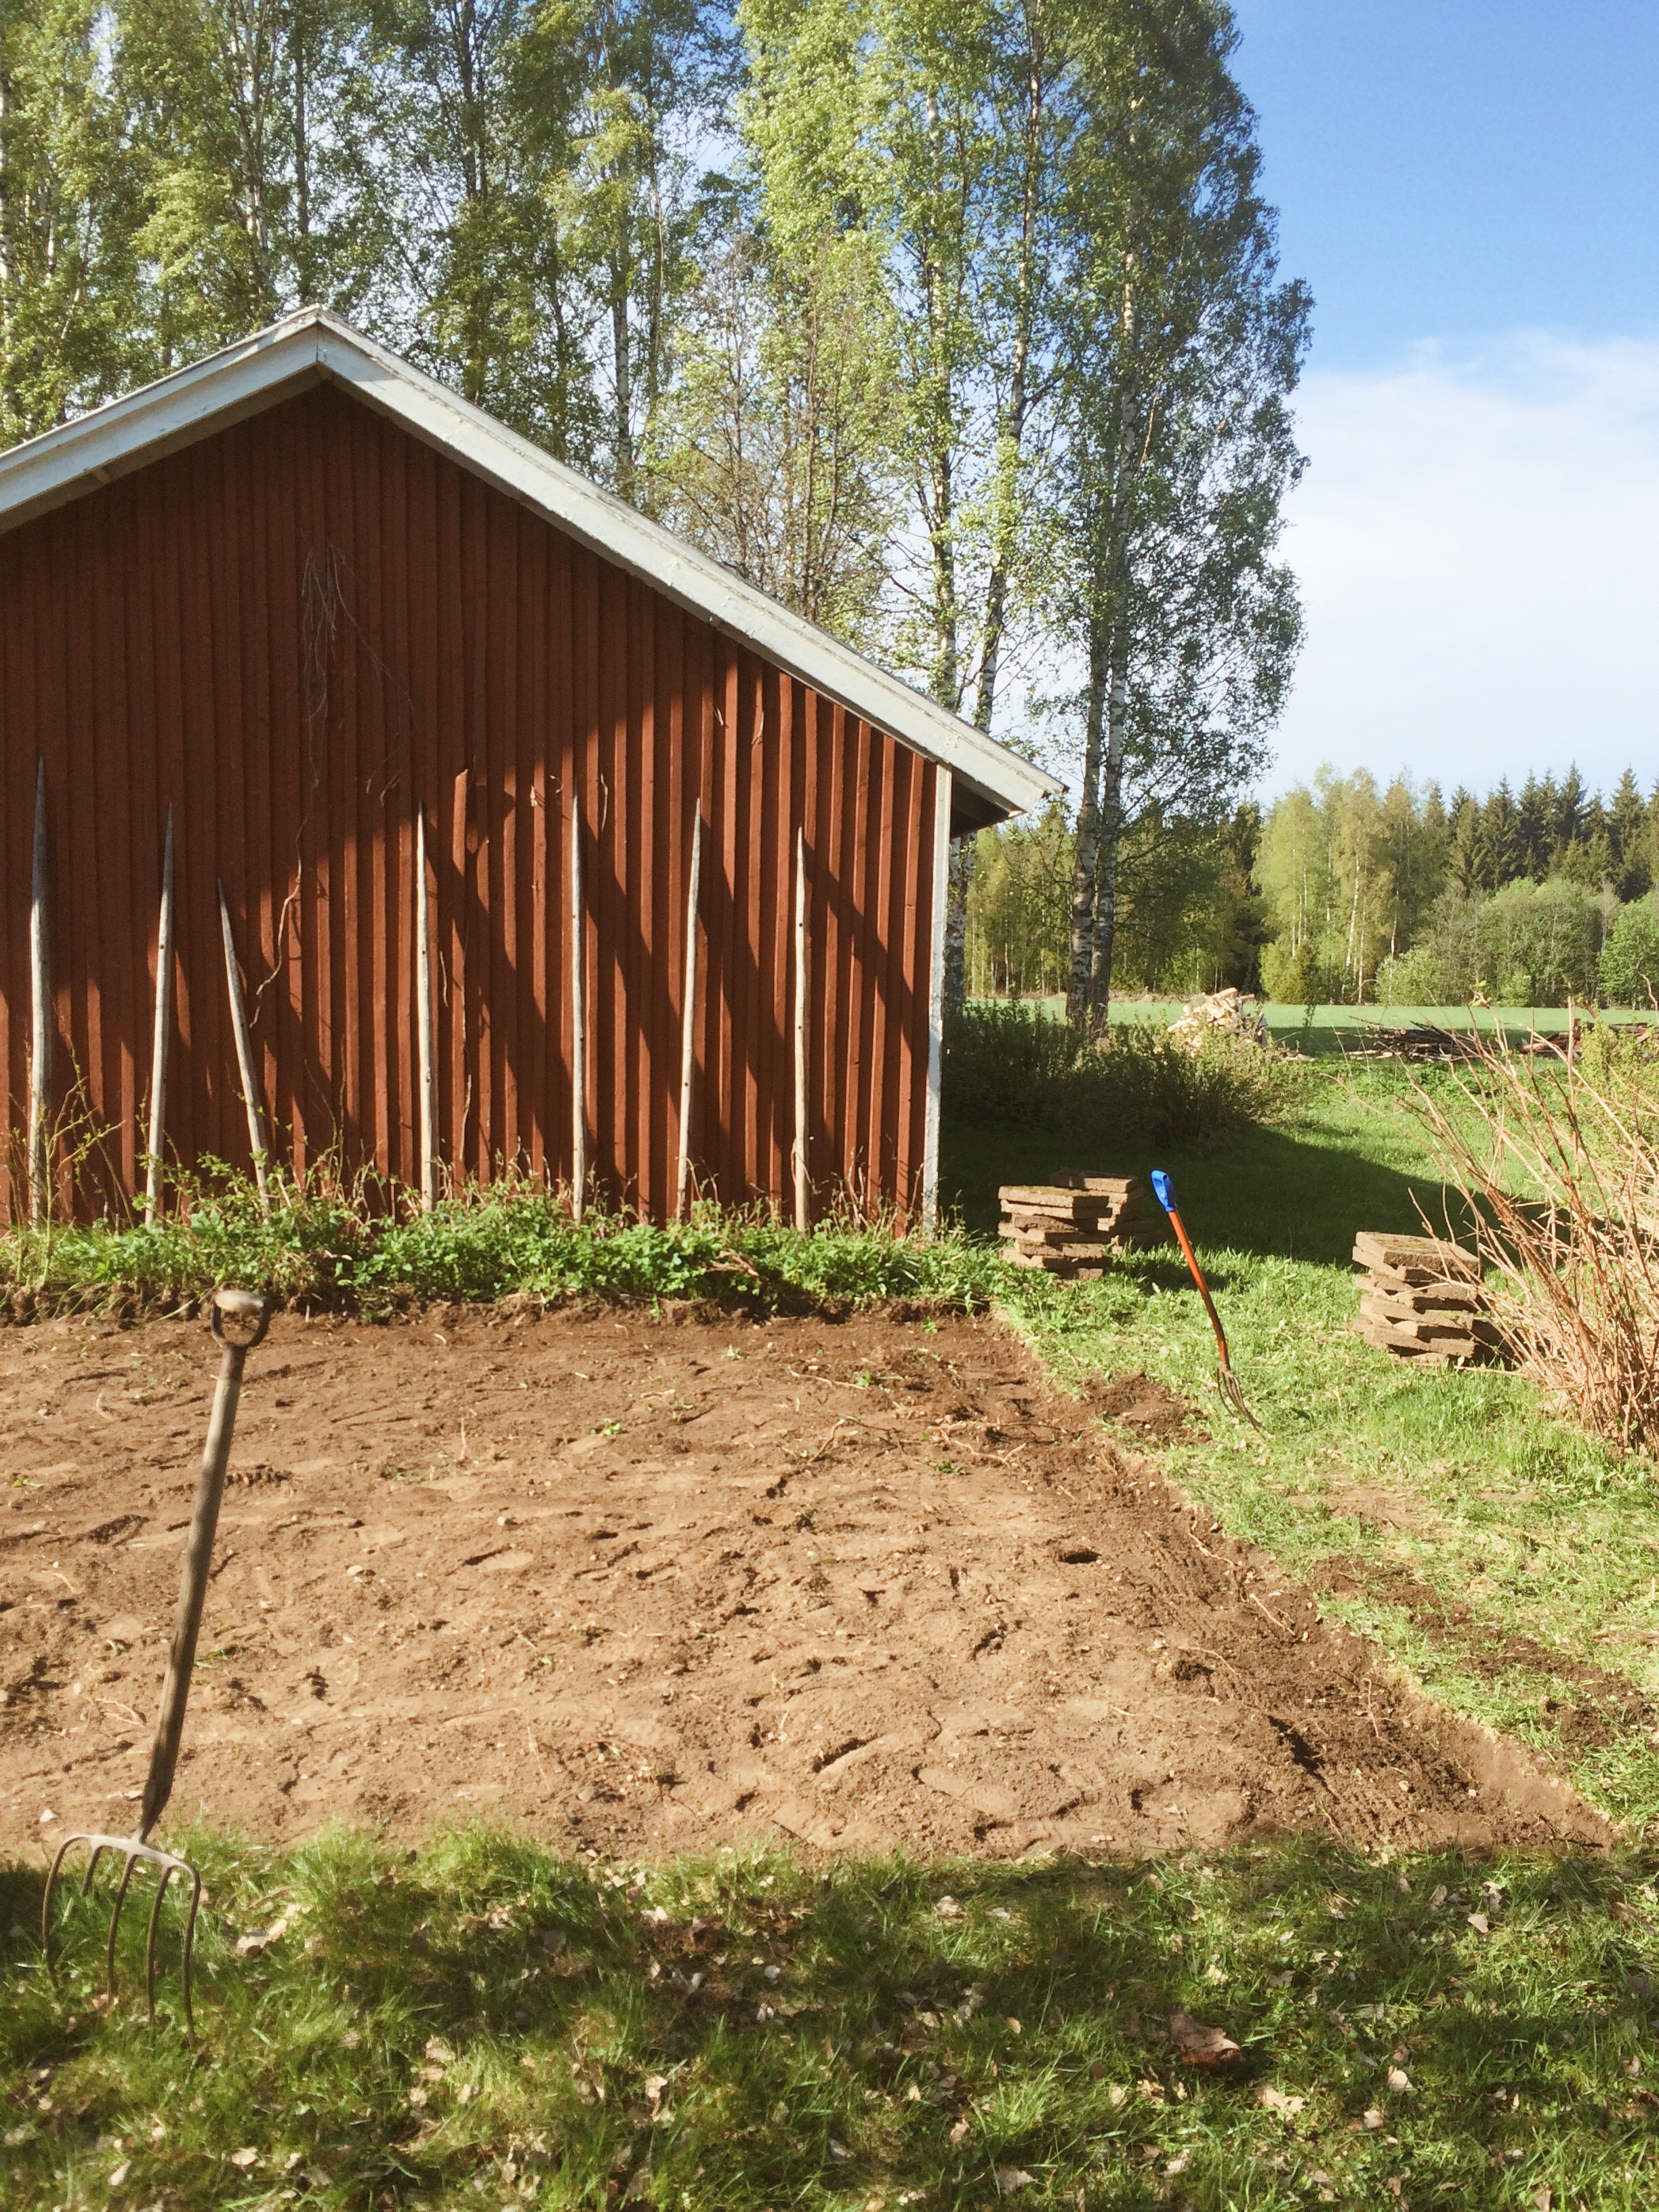
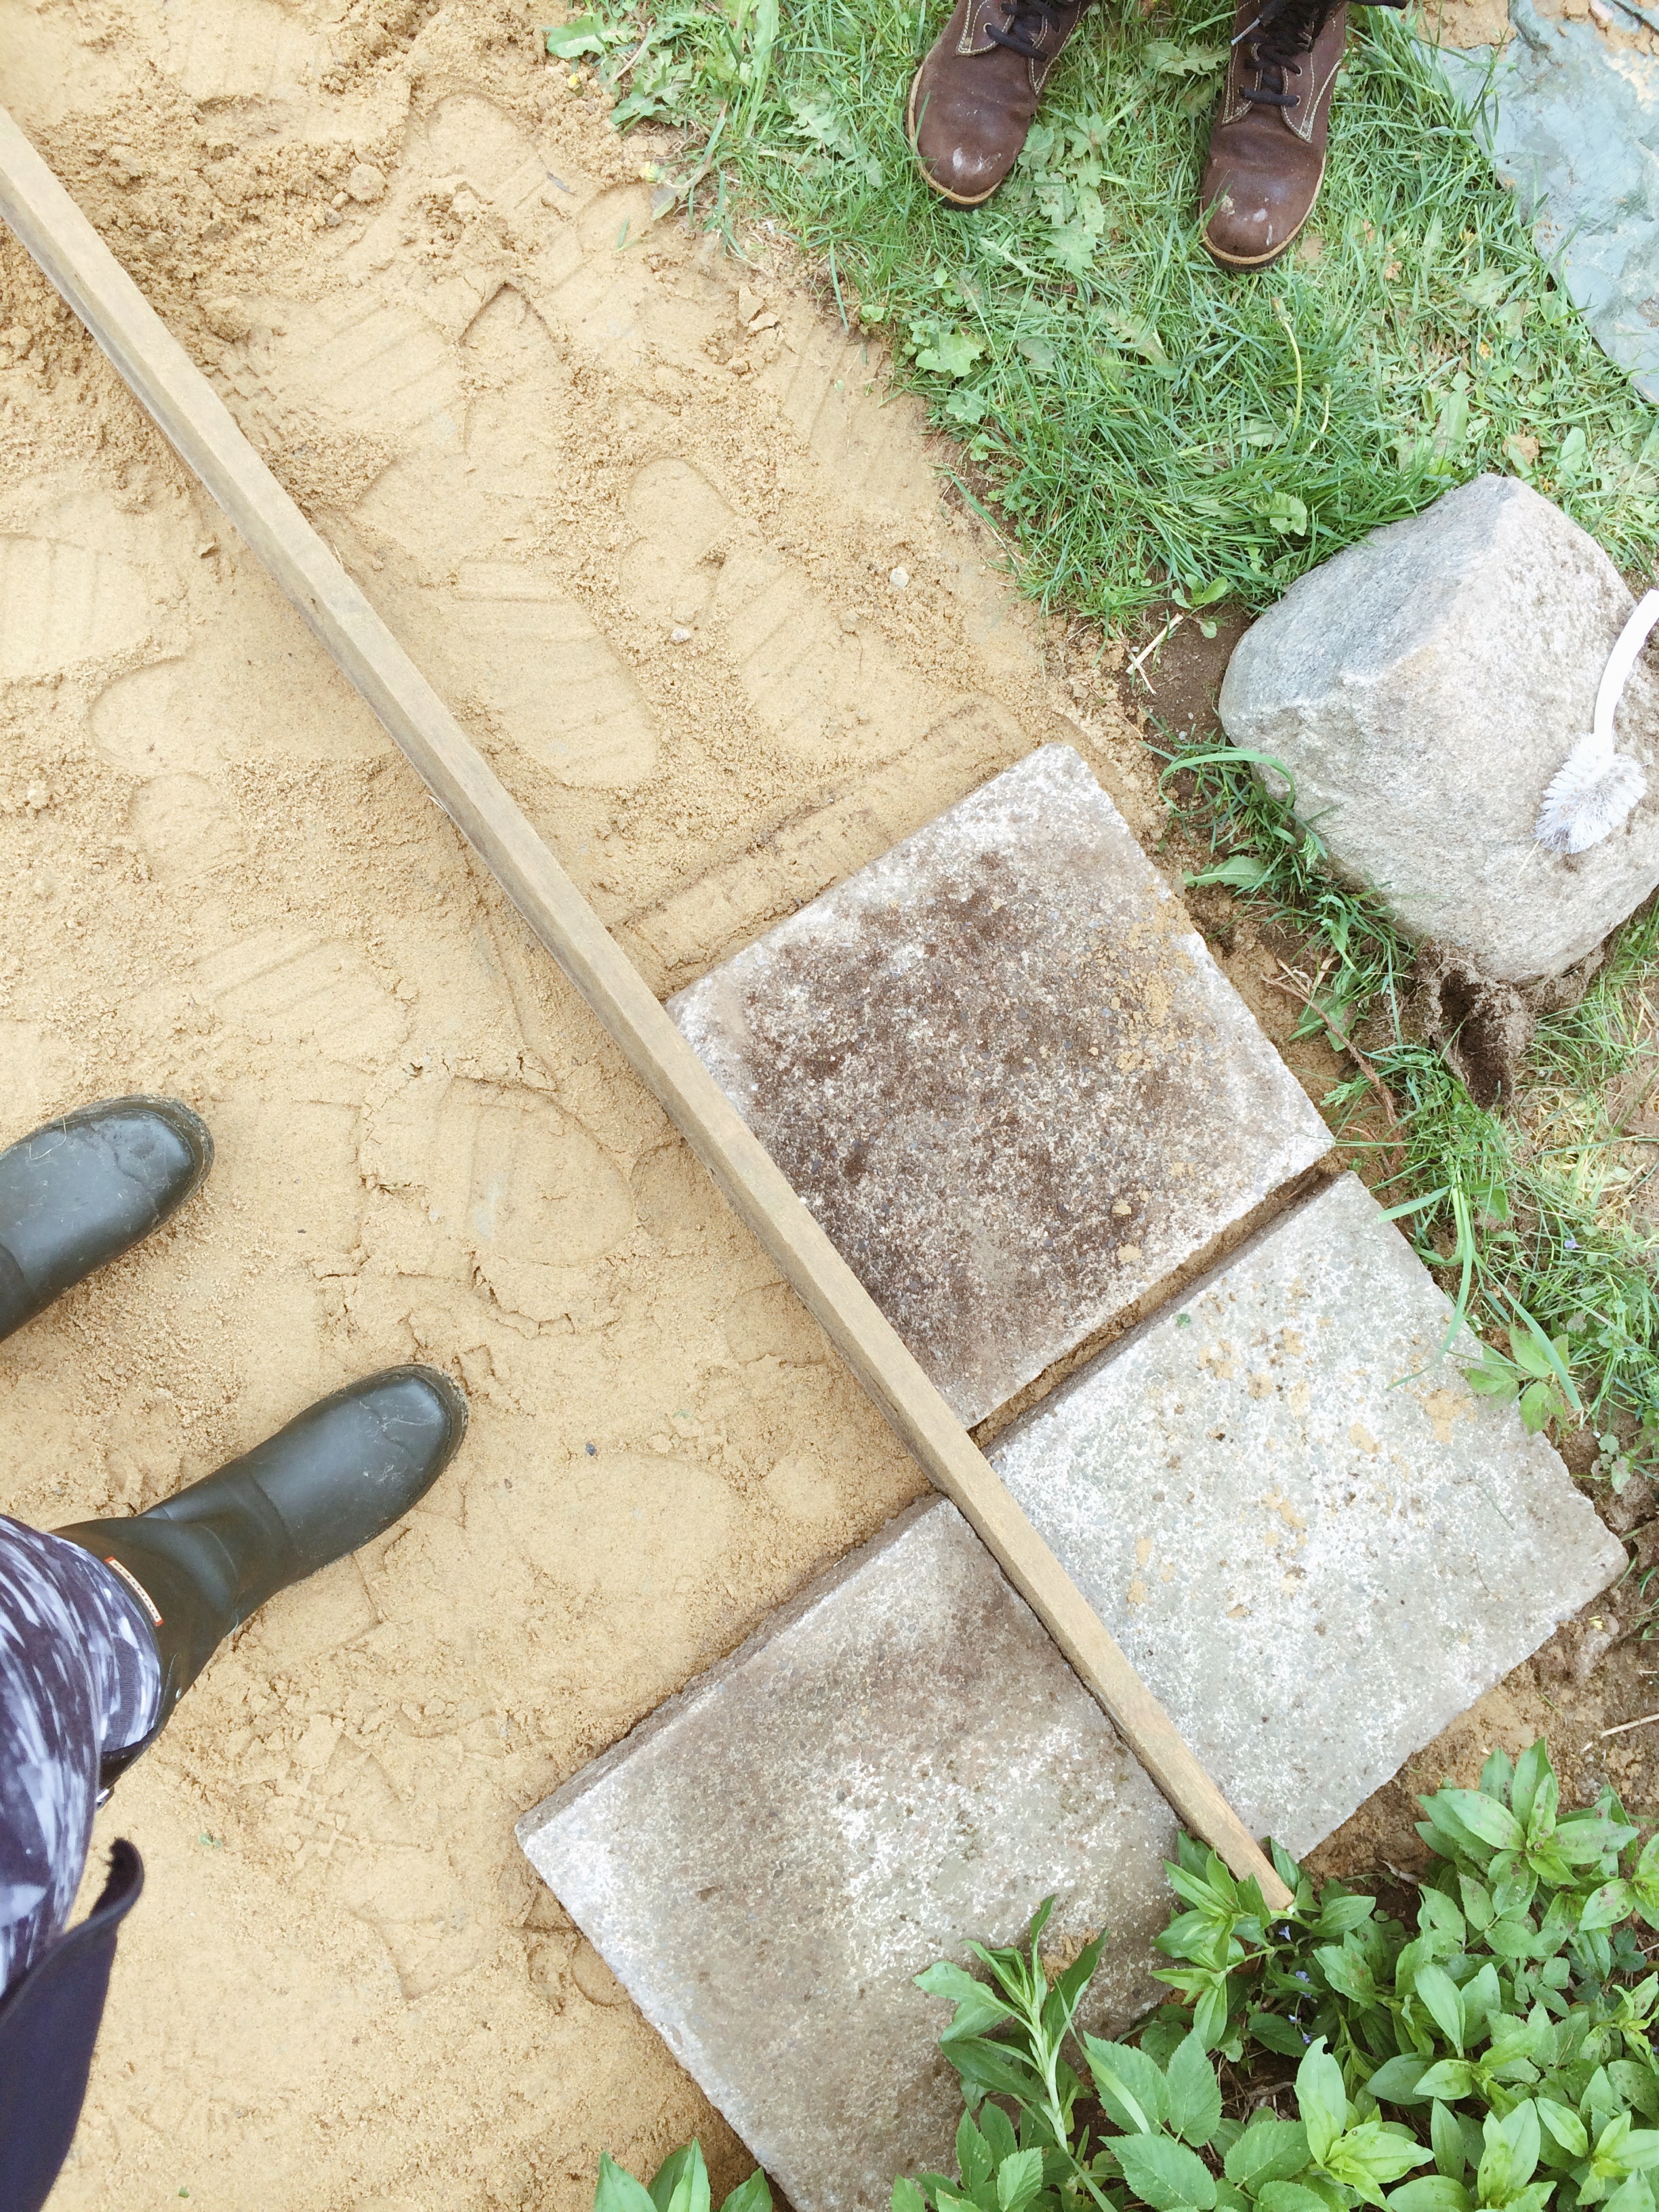
3. Evening out the area
First by digging and raking, then by sand and spirit level and a plank. We applied close to 10 cm of sand to the bottom of the new patio area and evened it out with the help of spirit level.
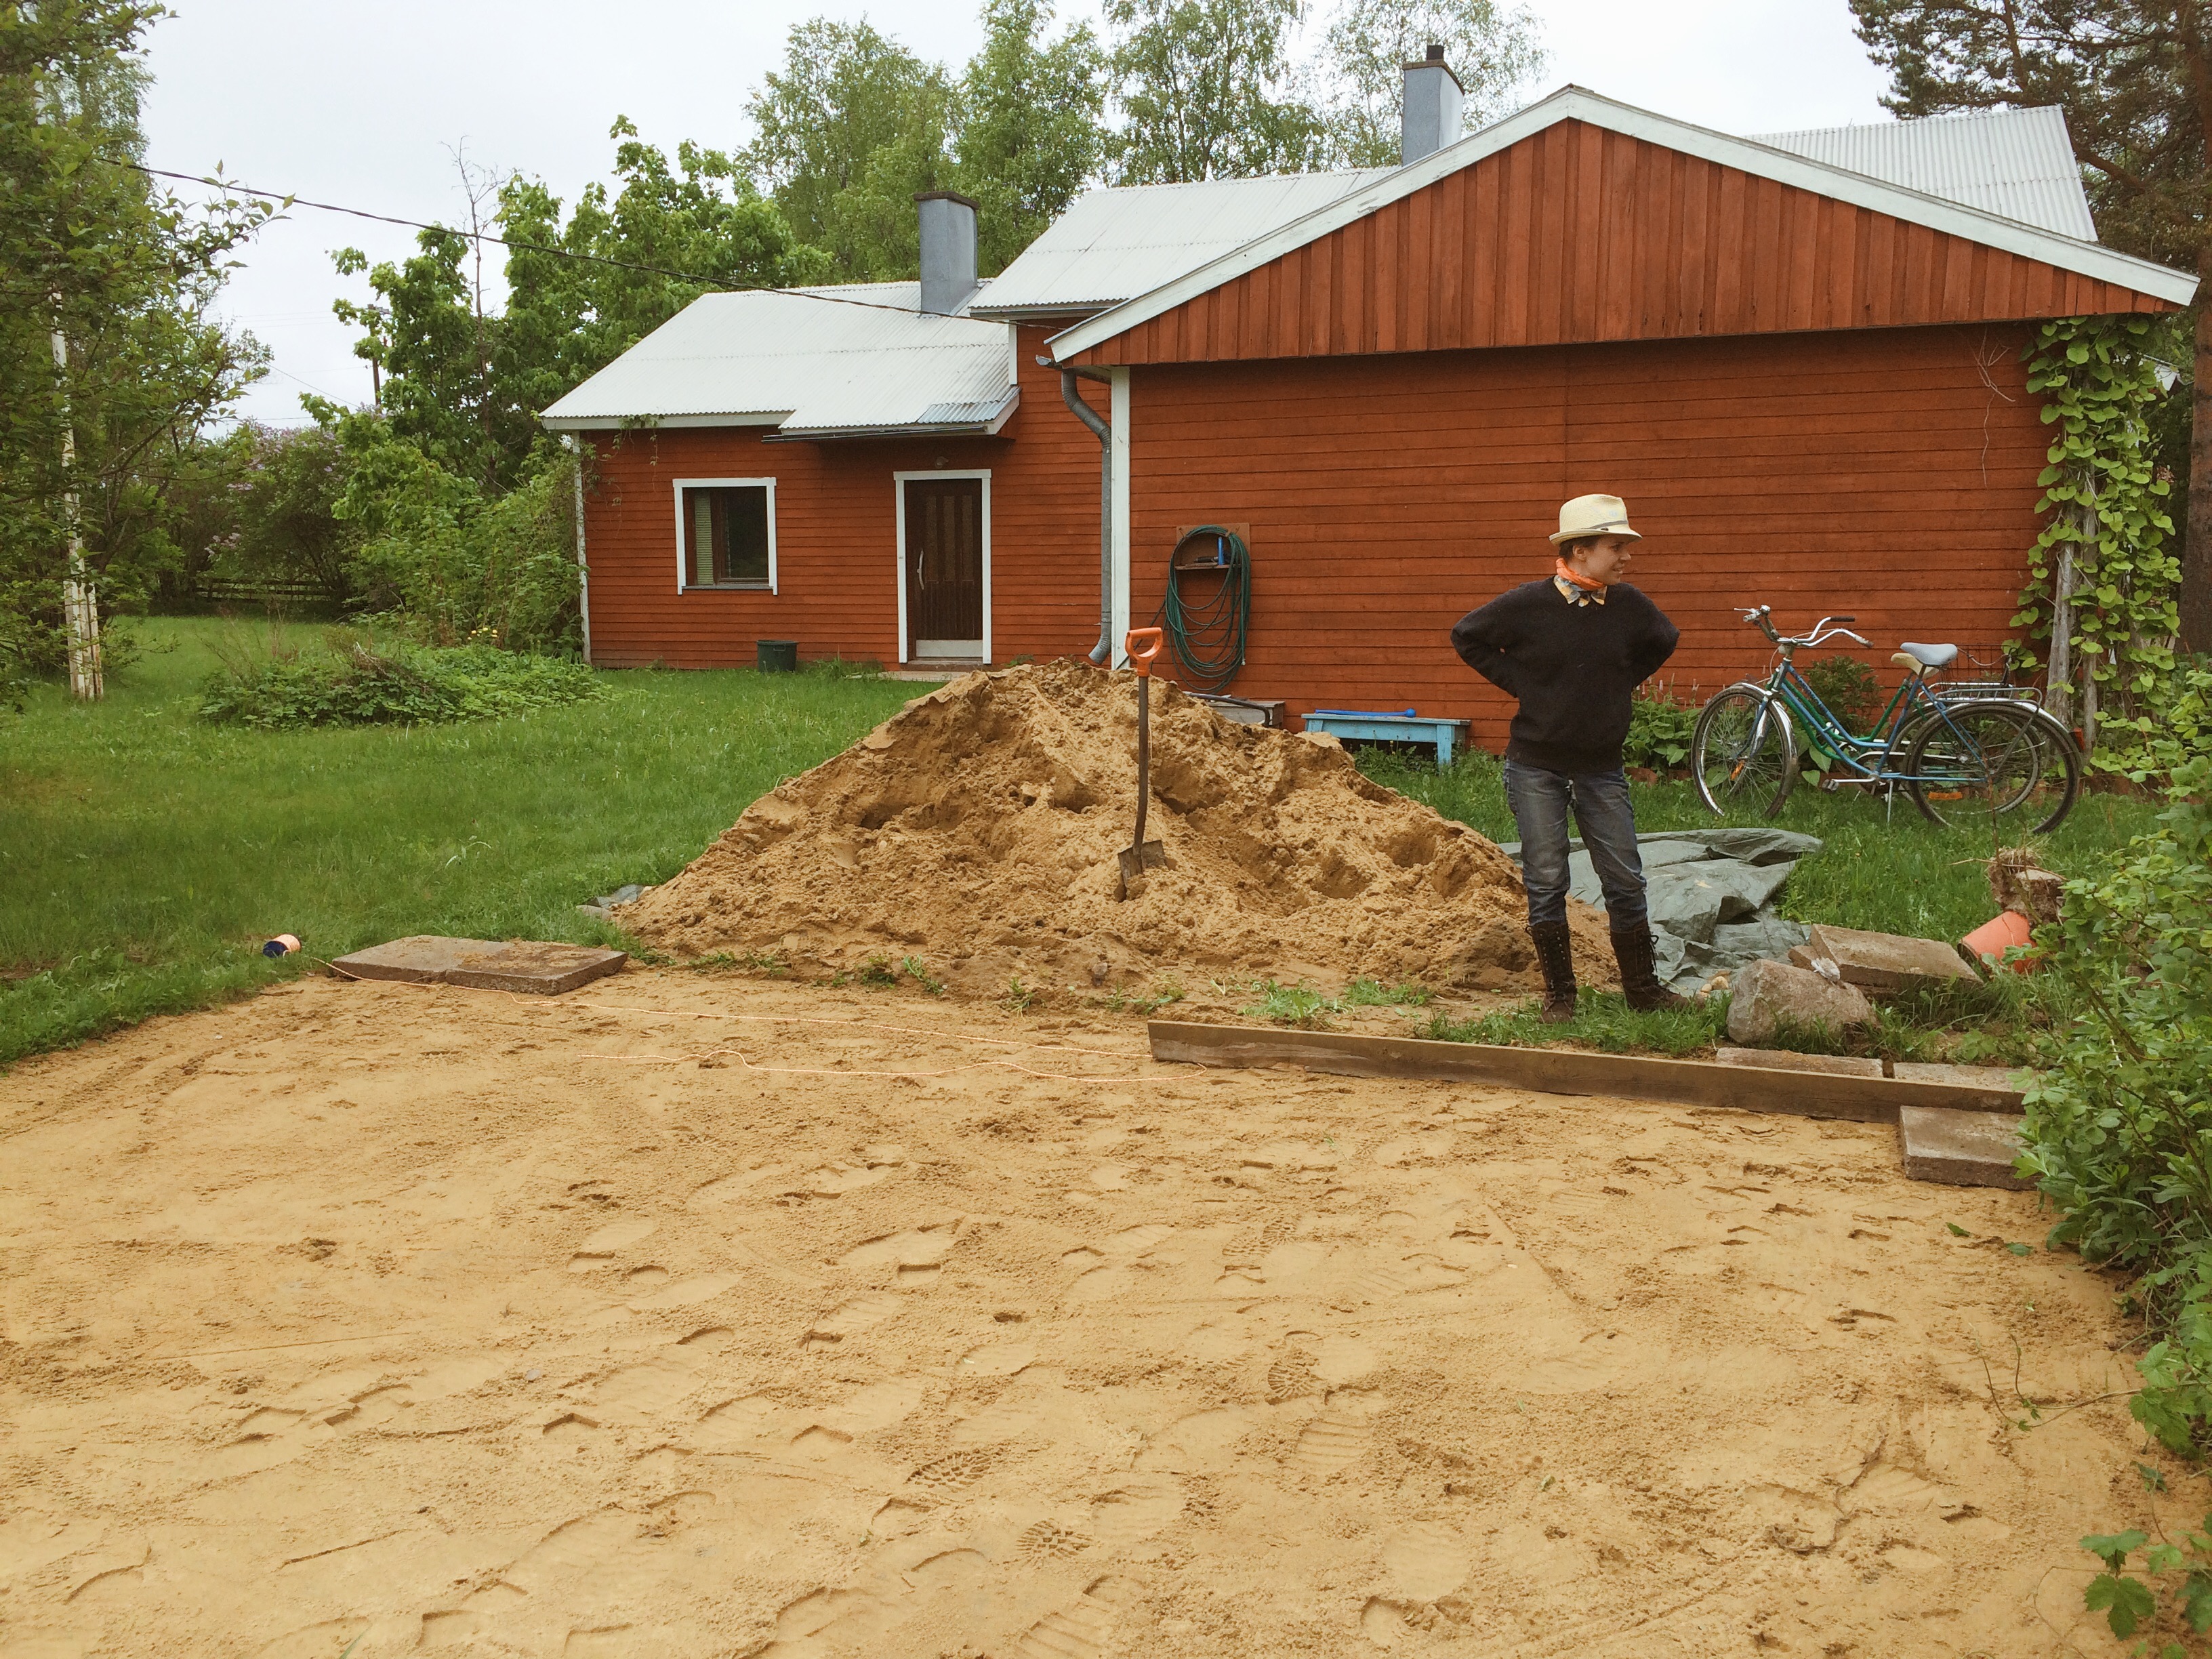
4. Laying out the recycled stones
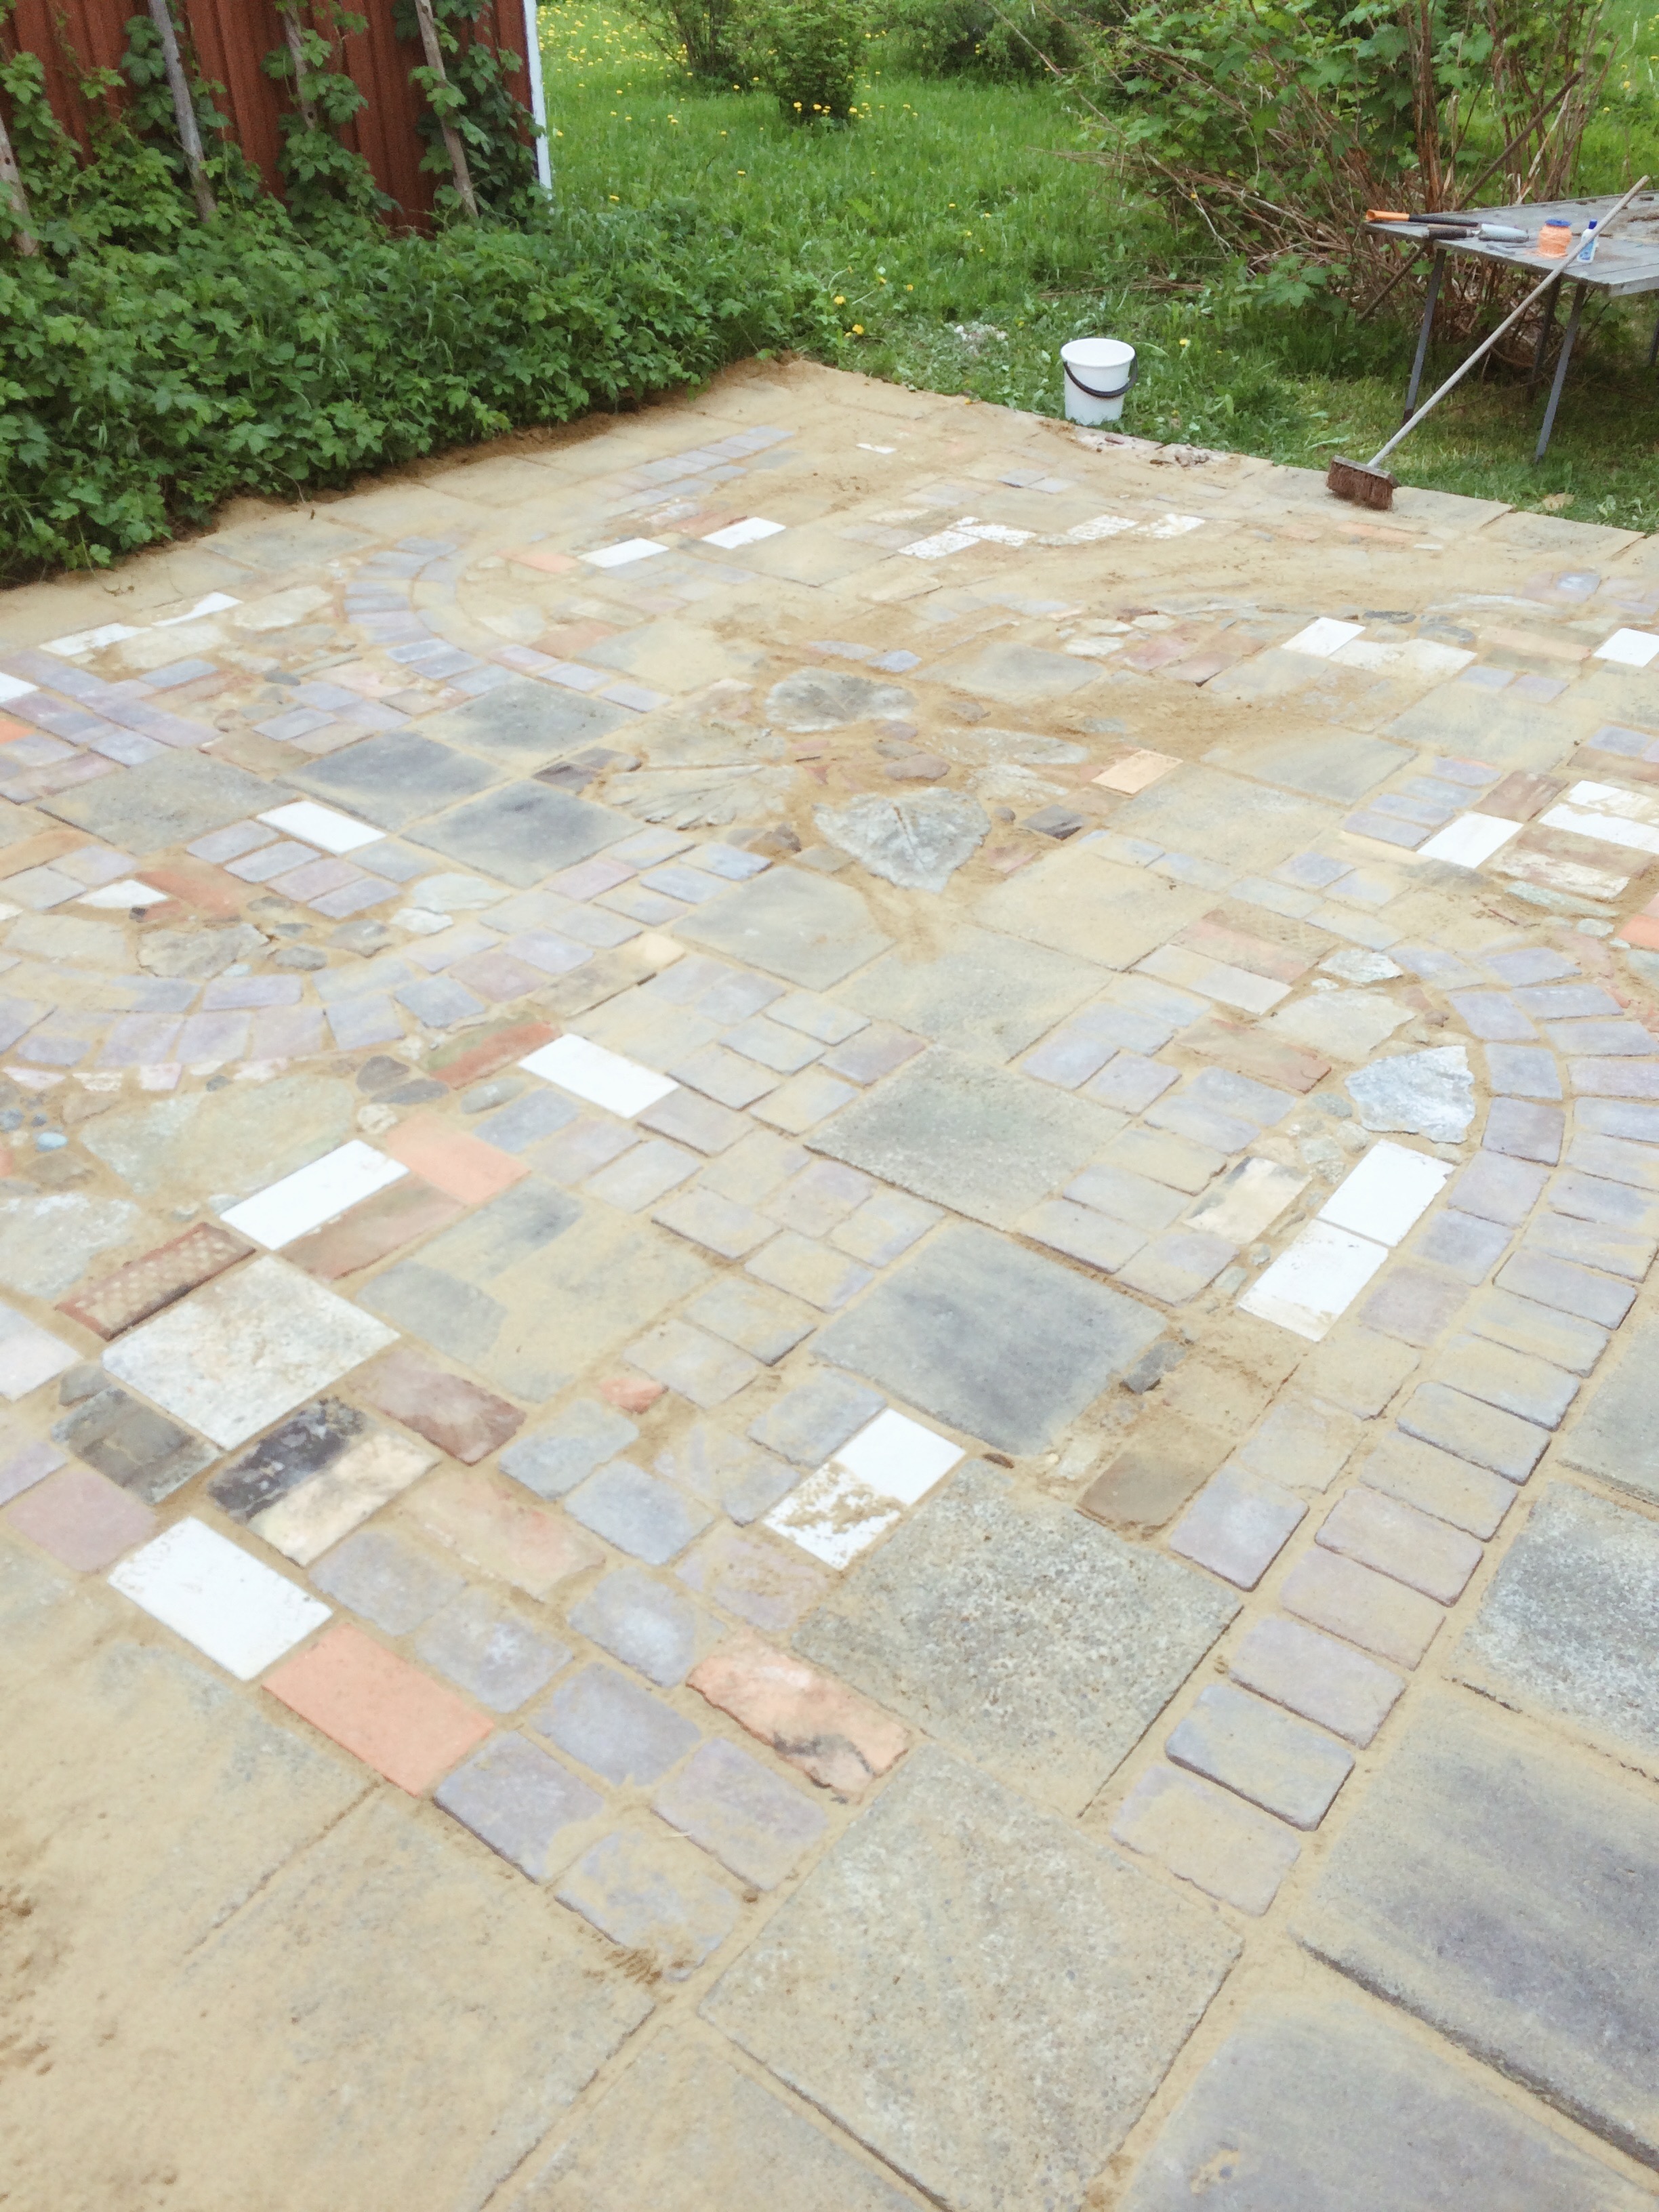
The old patio stones were used for the border of the new patio. To fill the rest of the space we used all recycled and second hand materials as well as some leftovers. We scored some new unused patio stones from one friend who had recently done their driveway. When we realized we were still short of several square meters of paving we dig out all the old brigs we had laying around under the sheds and flower pots and finished the smallest holes with round natural stones.
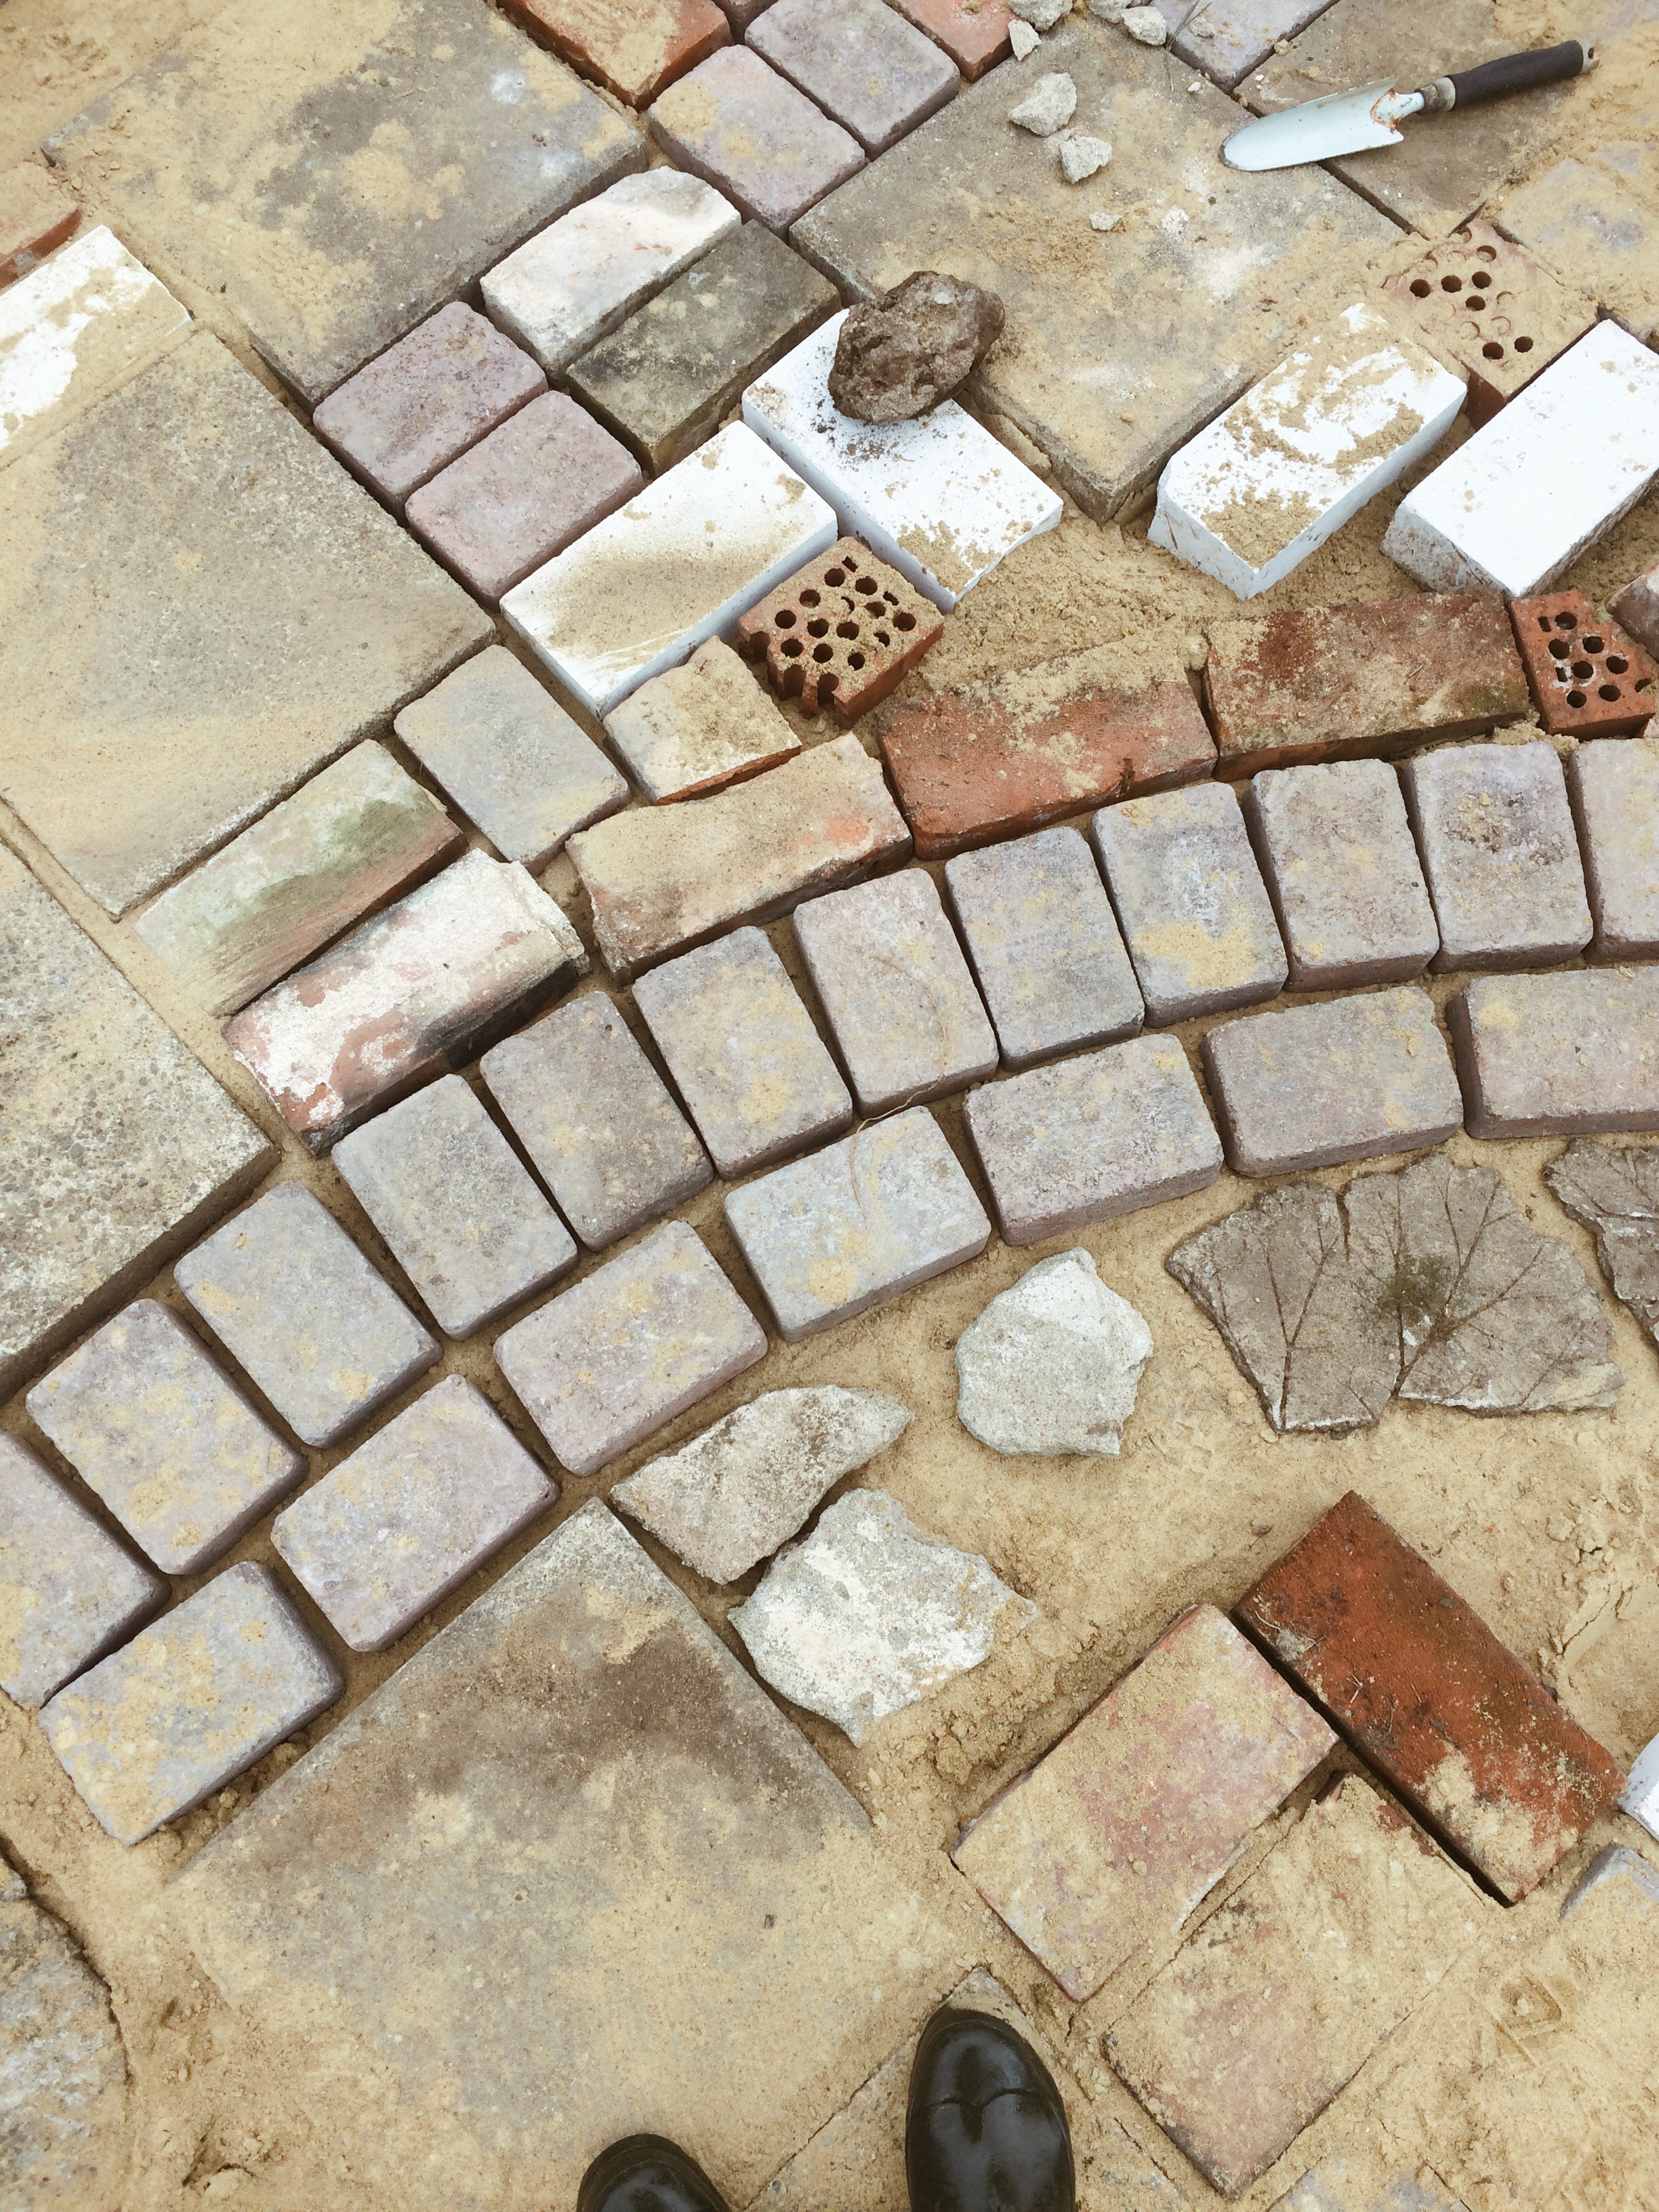
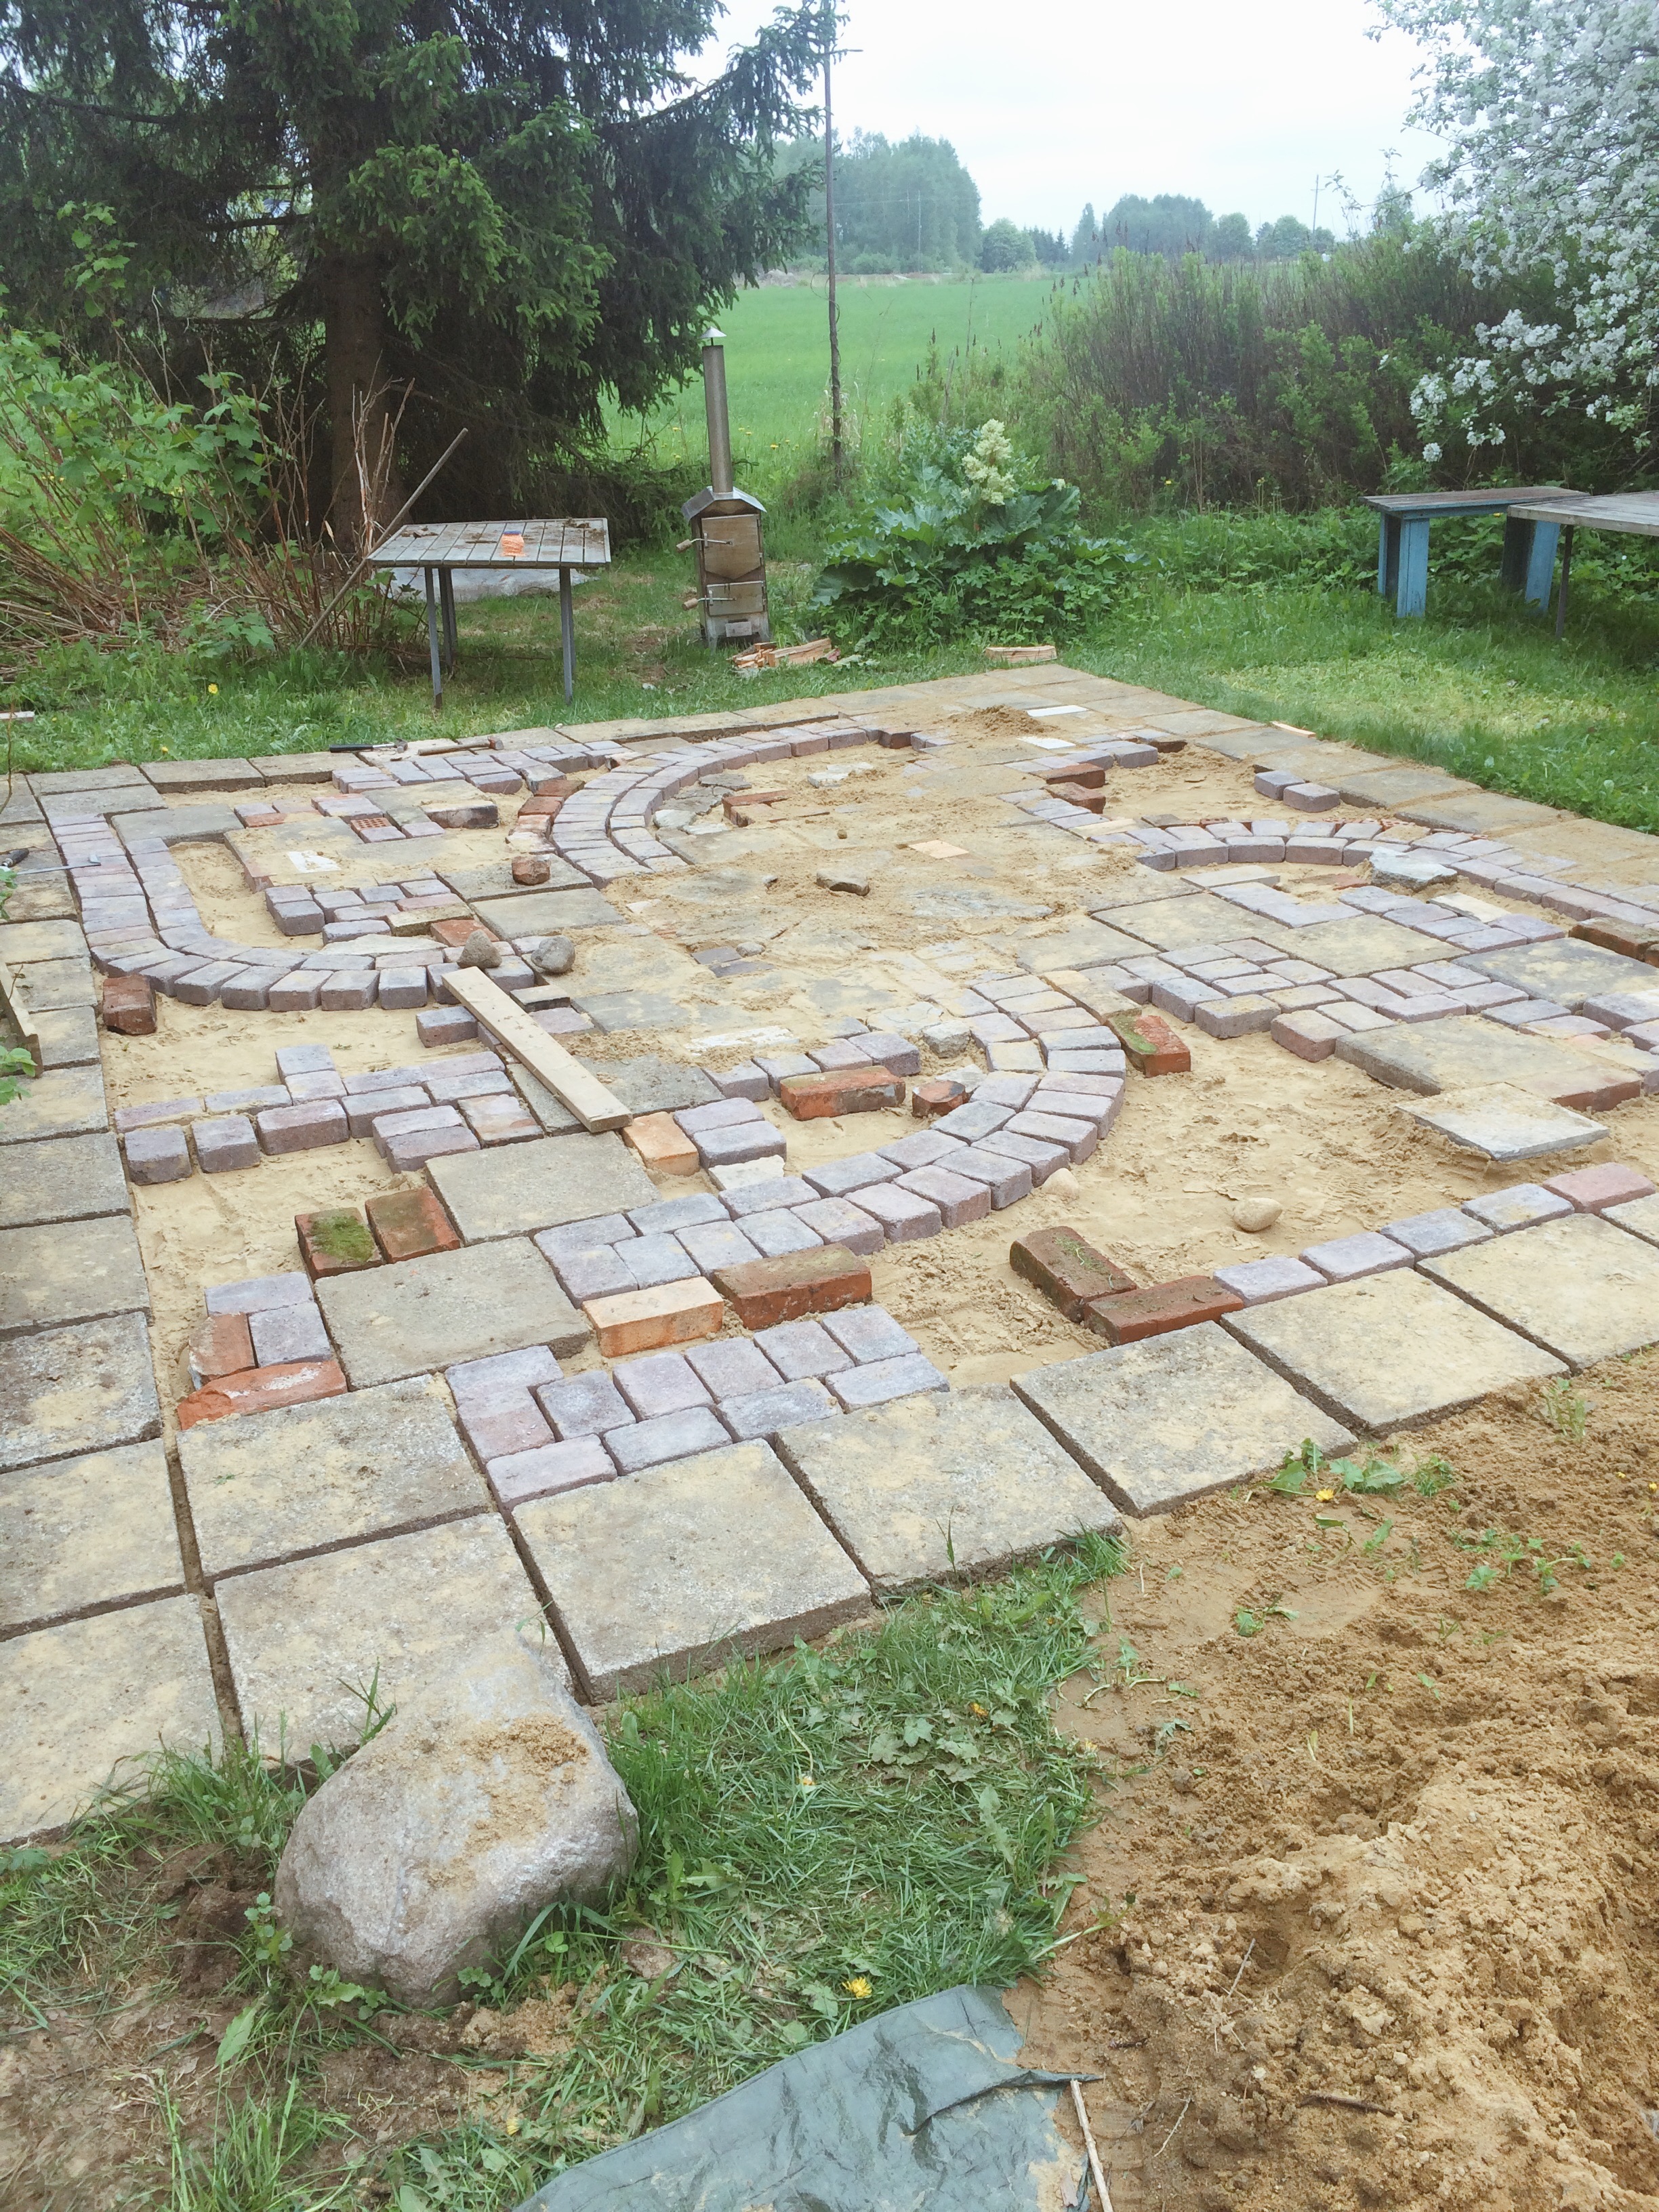
5. Filling the gaps with fine sand
We found the best tool for this was a sturdy street brush. By doing this several times over we made sure there was no empty spaces left and the sand was packed down nice and tightly.
DIY Project Worth The Sweat
We did all the work by ourselves and it was tough! I’m not gonna lie to you guys, digging and carrying sands and stone was dusty and tiresome job. Designing how the new stones would be laid down was the fun part, although it felt like the patio was never ending pit by the amount of brigs we had to find for it. The work lasted about a week from start to finish with breaks and wait time in between.
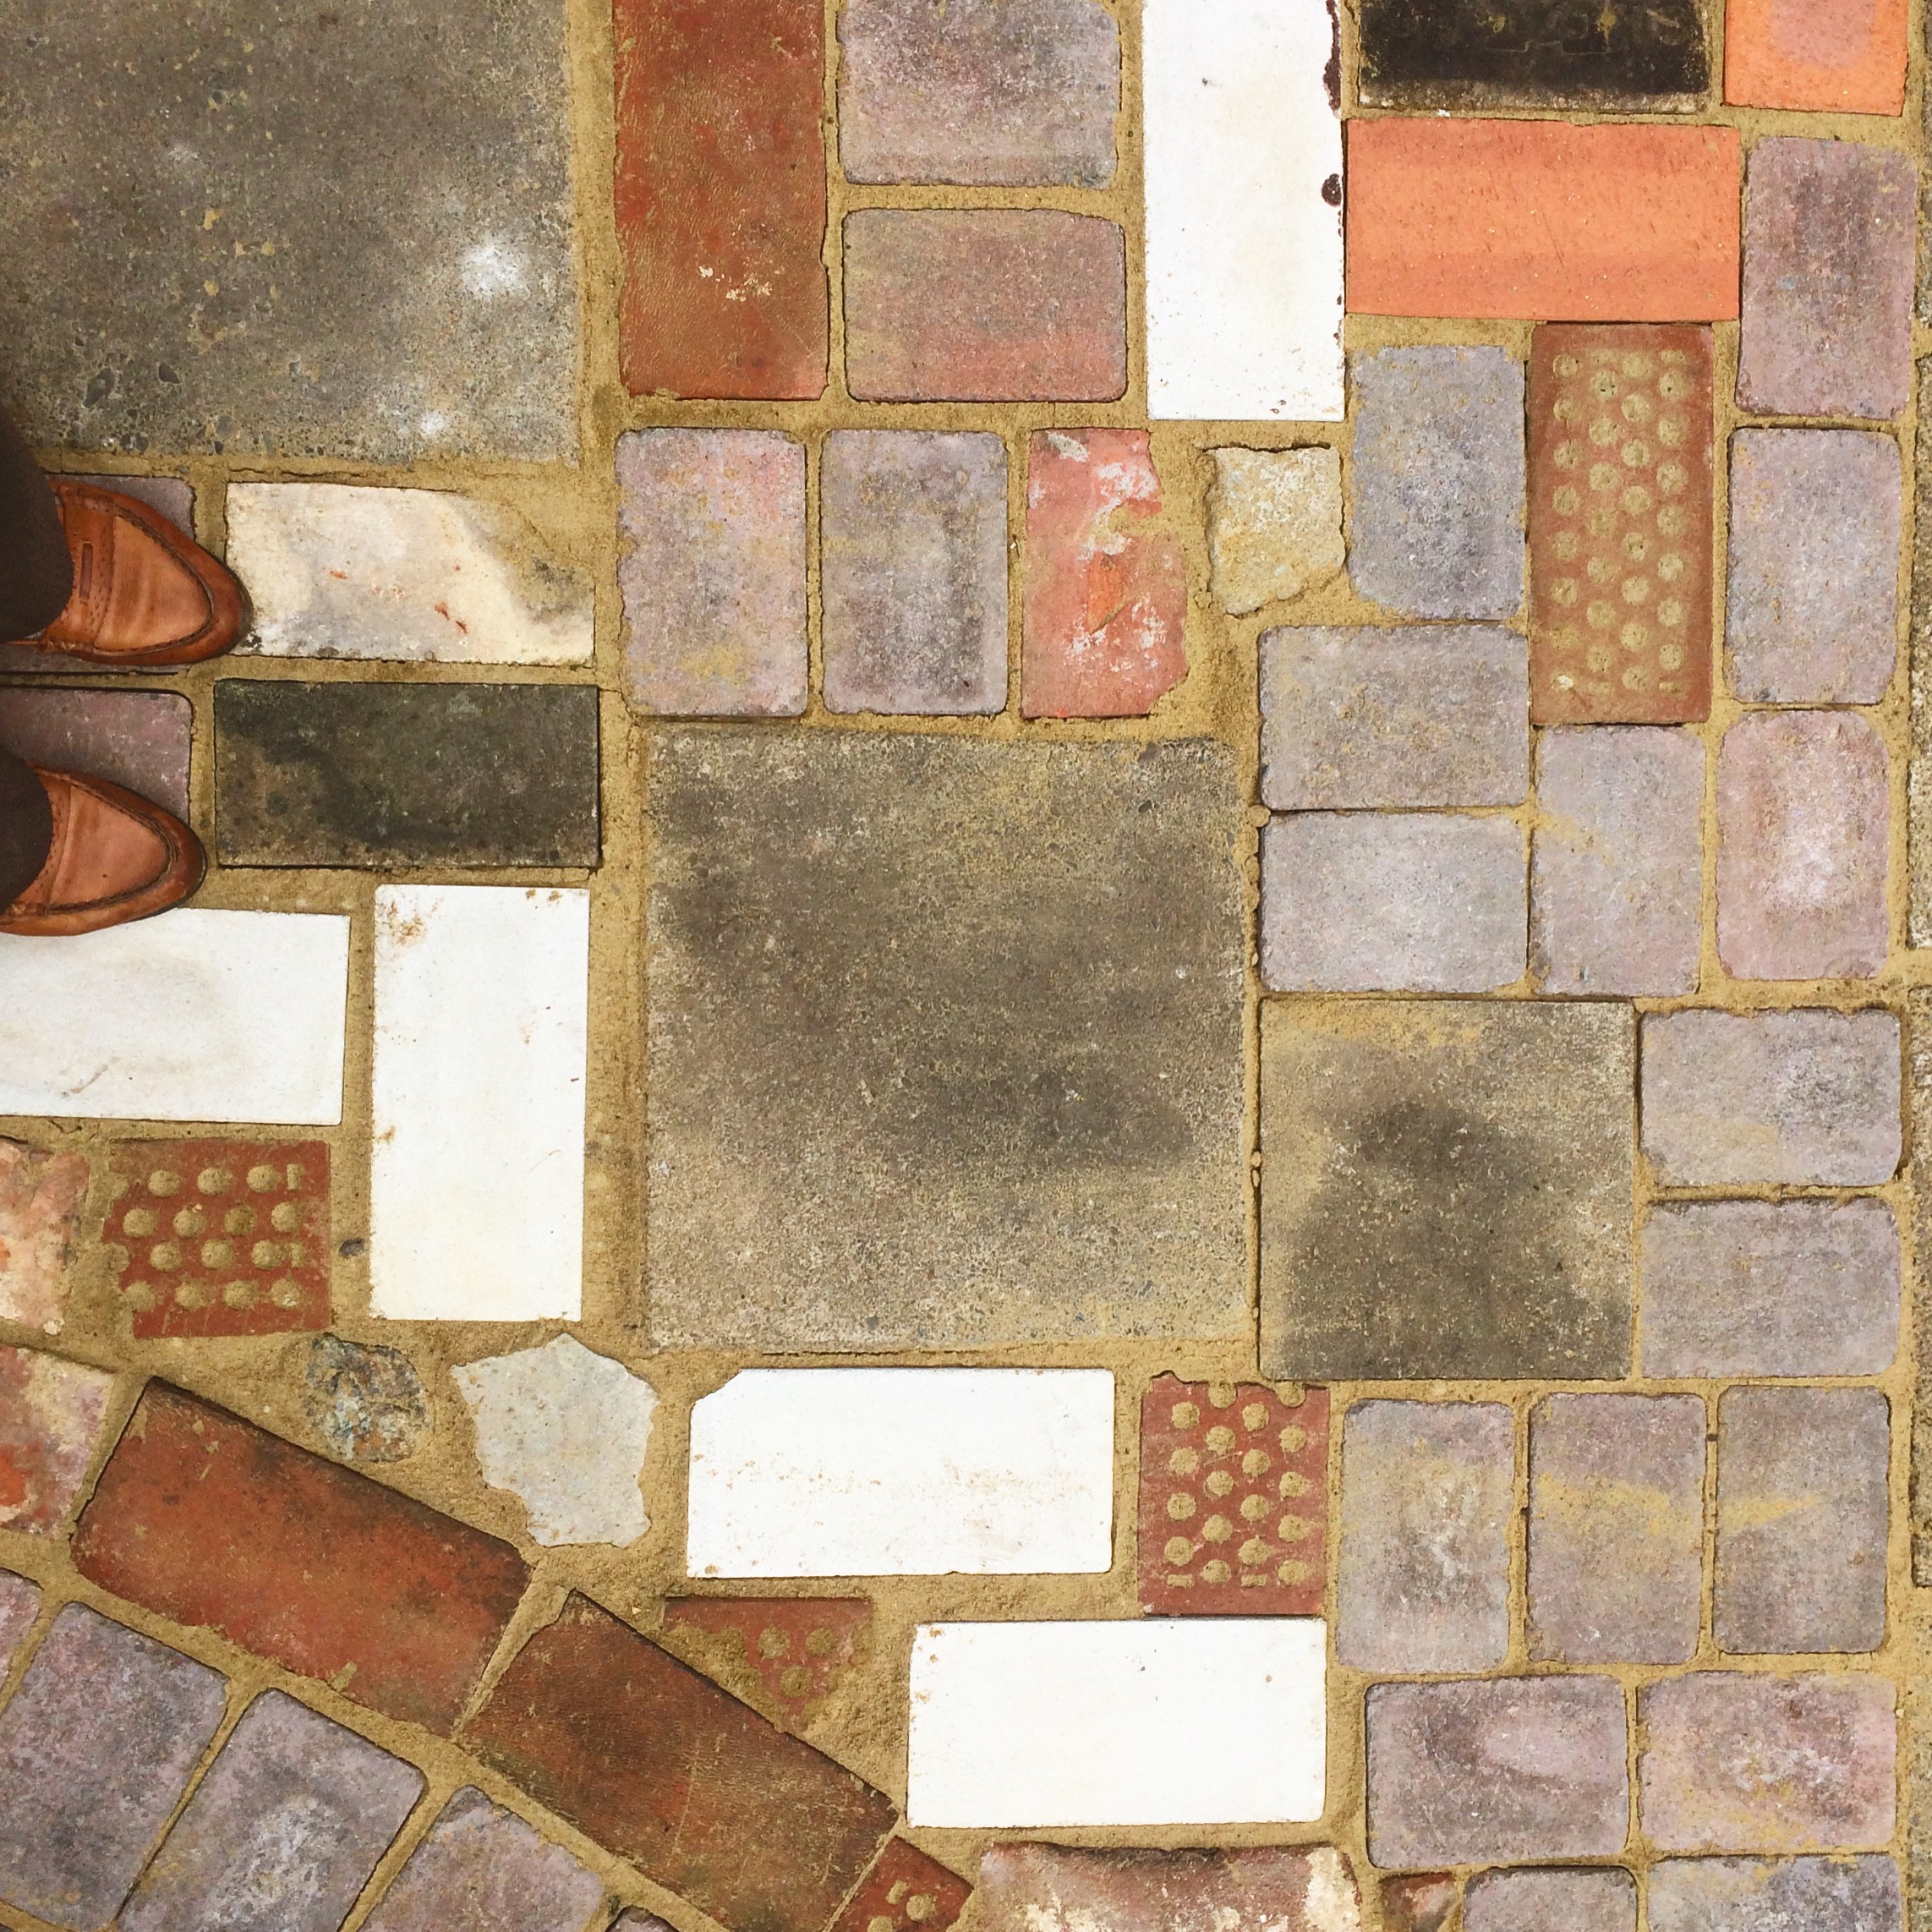
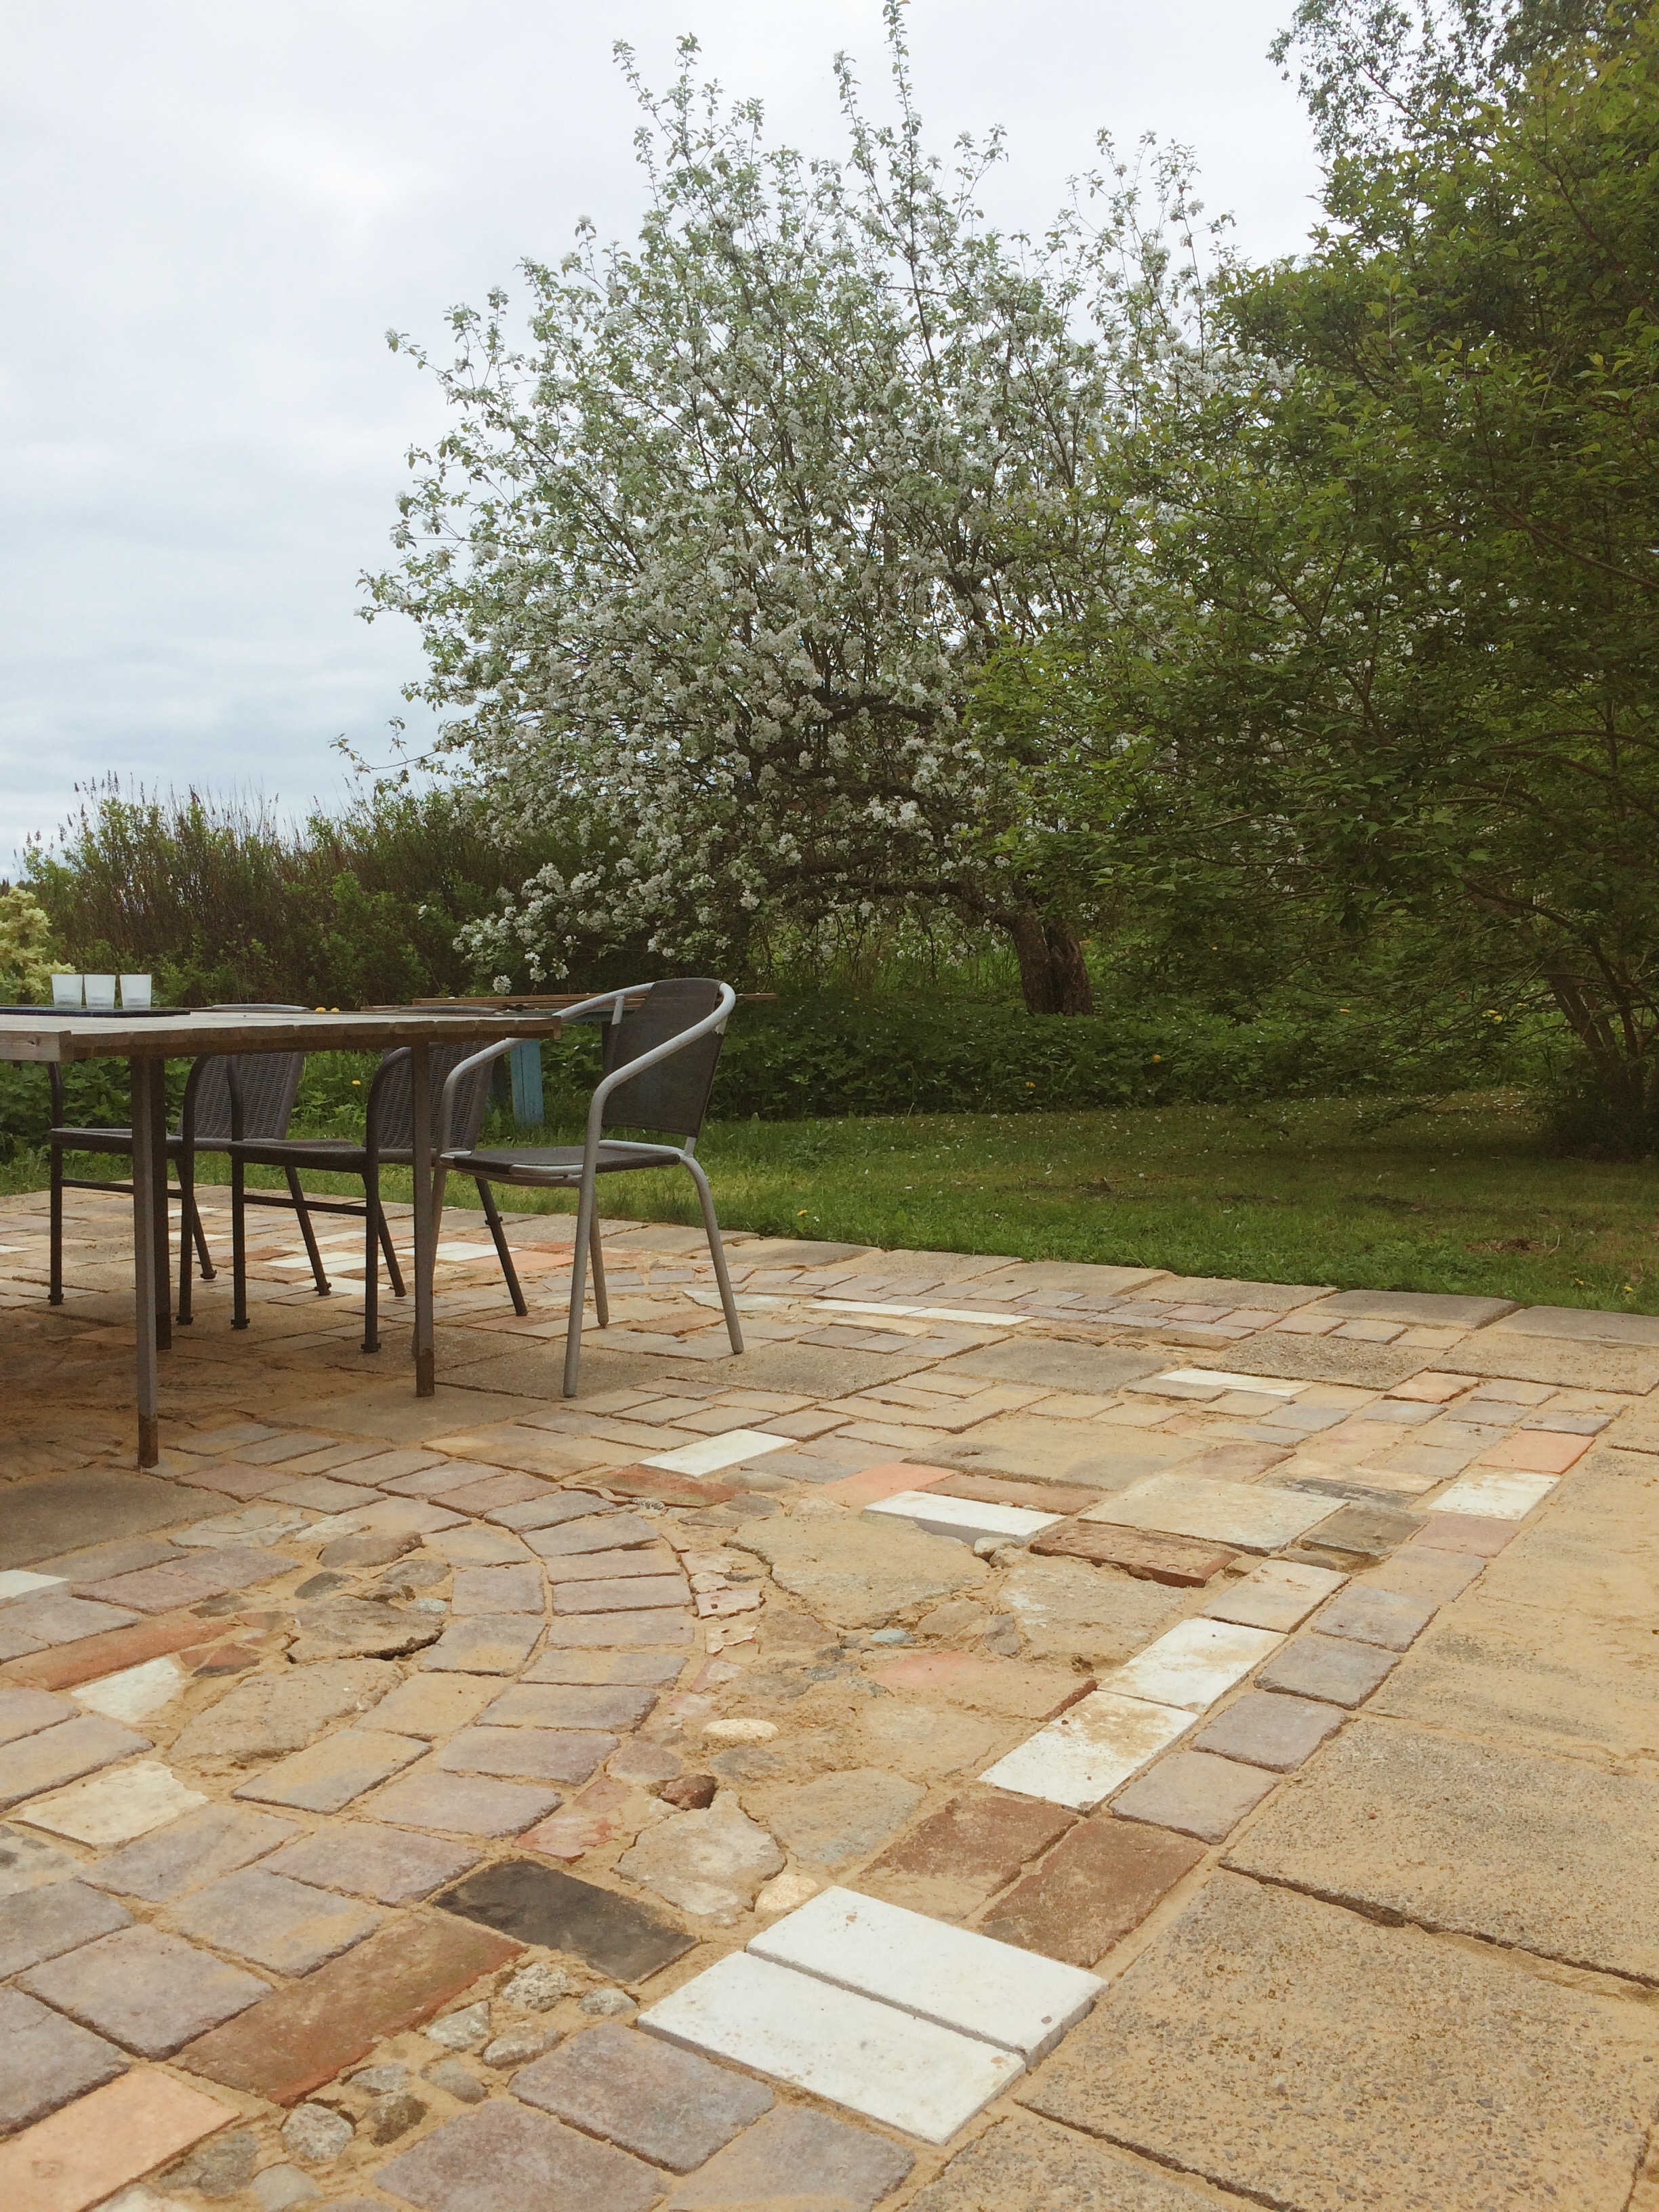
The end result is absolutely great. The patio looks very rustic and it has countryside charm with it’s recycled materials. Every time I step onto it I feel like walking in some small mediterranean town. It’s such a joy! Now it’s time to decorate it, any tips or ideas from you guys?
Love,
Valentin

Valentin
Valentin is
Iida Silvennoinen
Iida is a garden enthusiast who loves to watch the roses bloom while holding a cup of hot tea.




0 Comments